Installing SQL Server on Ubuntu
V1.0 – January 2024
| Version | Author | Description |
|---|---|---|
| V1.0 – 2024-01-05 | Diogo Hatz 50037923 | Initial Version |
| V1.0 – 2024-01-05 | Wisley Paulo 00830850 | Document Review |
Introduction
SQL Server is a relational database tool developed by Microsoft. This document provides a step-by-step guide on how to install SQL Server on a Linux instance on the Ubuntu distribution. For this tutorial, Ubuntu 20.04 and SQL Server 2019 were used, however, other versions will also be made available below.
Creating ECS
Navigate to the ECS section in the Huawei Cloud console.
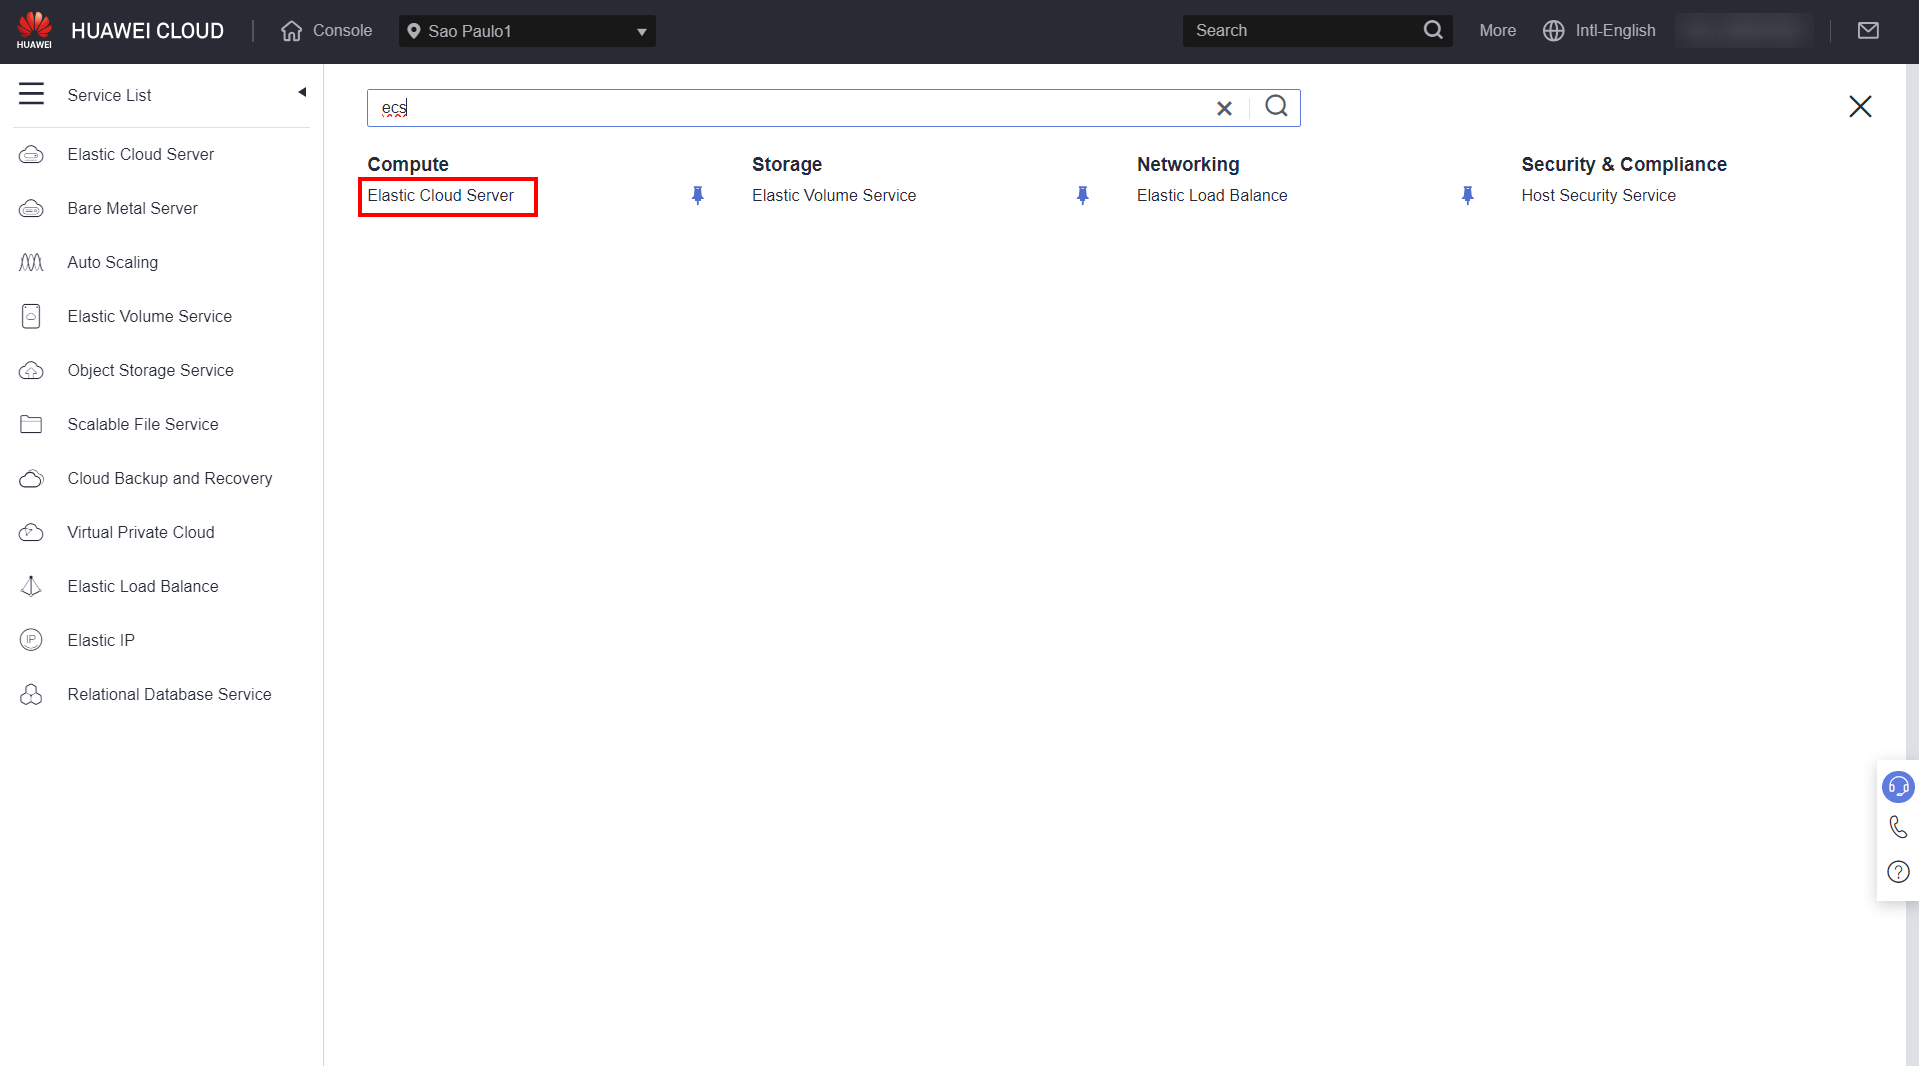
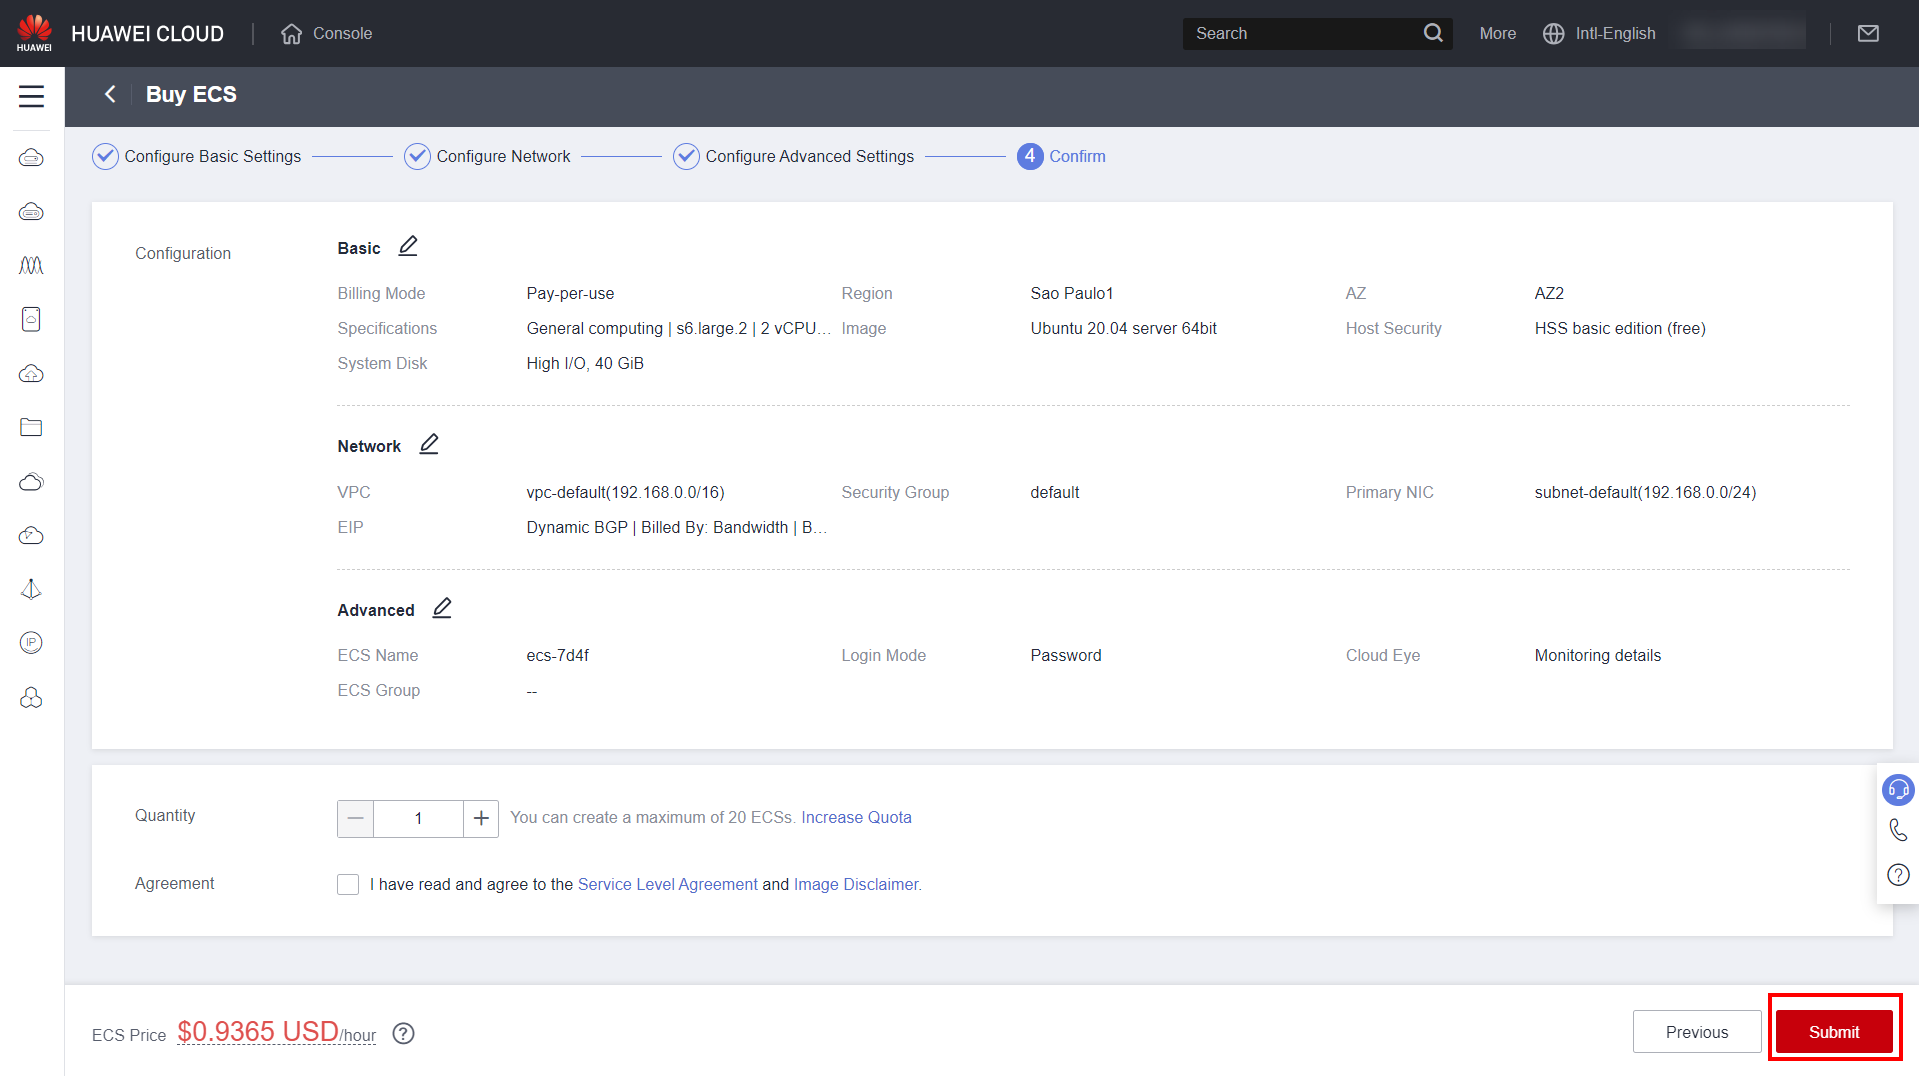
Purchase a new instance with the desired OS for installing SQL Server.
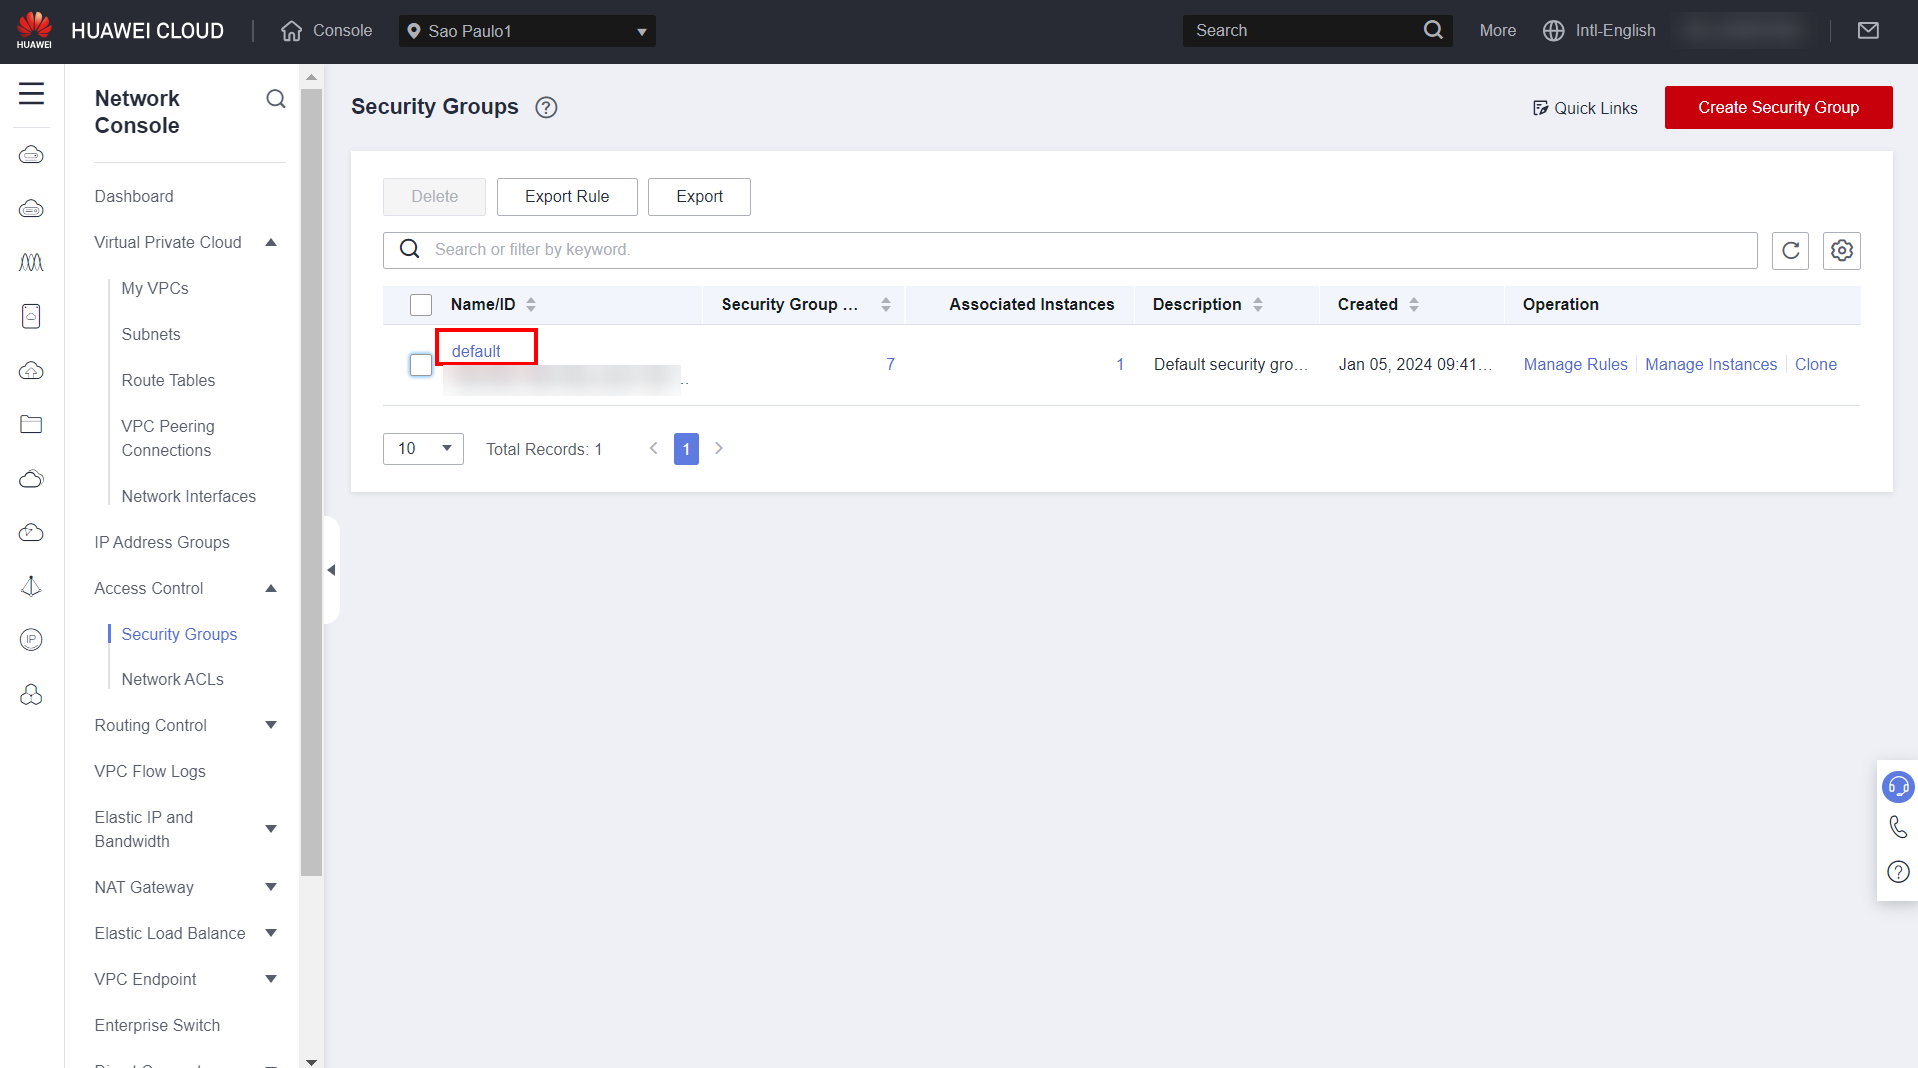
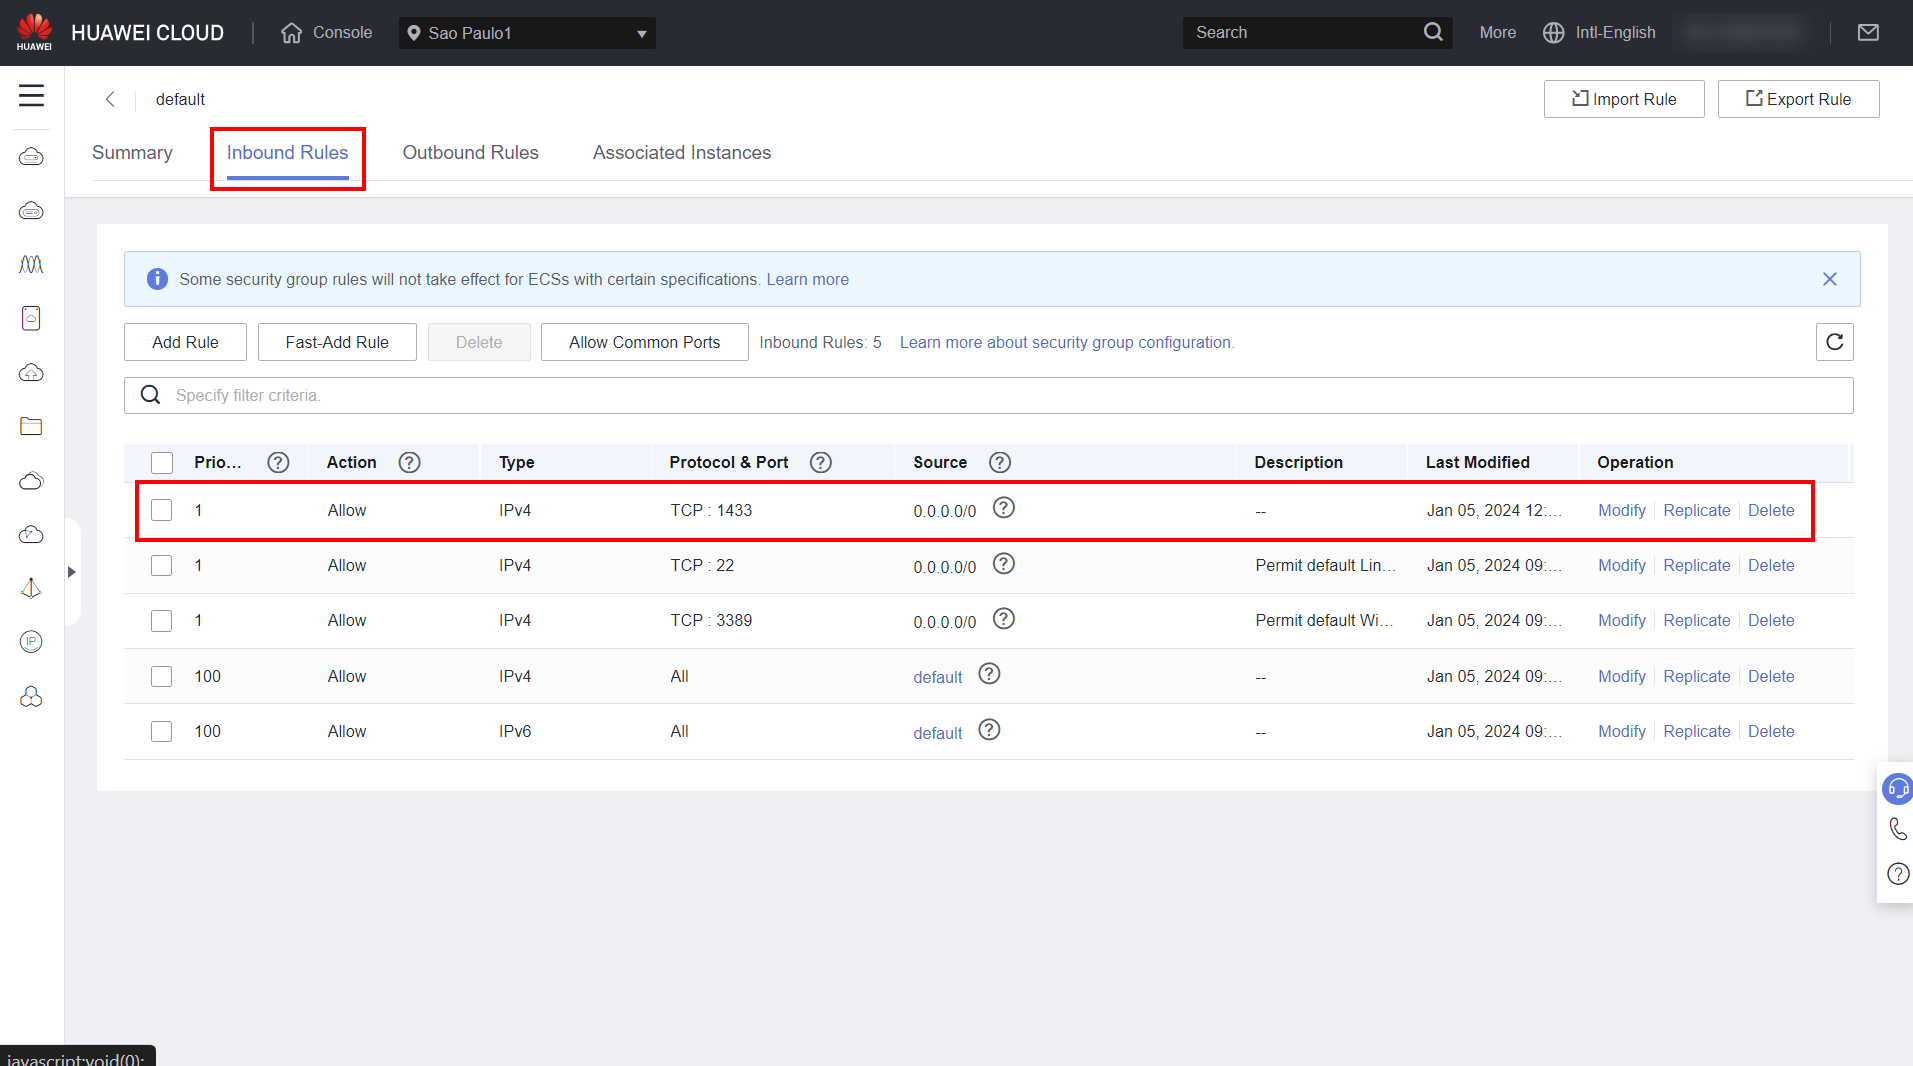
Navigate to the Security Groups section in the Huawei Cloud console. Click on the security group associated with the created ECS and add a rule for the default SQL Server port 1433.
Return to the ECS section in the Huawei Cloud console and access the created instance by clicking “Remote Login”. Log in as the “root” user with the password configured when creating the instance.

SQL Server Installation
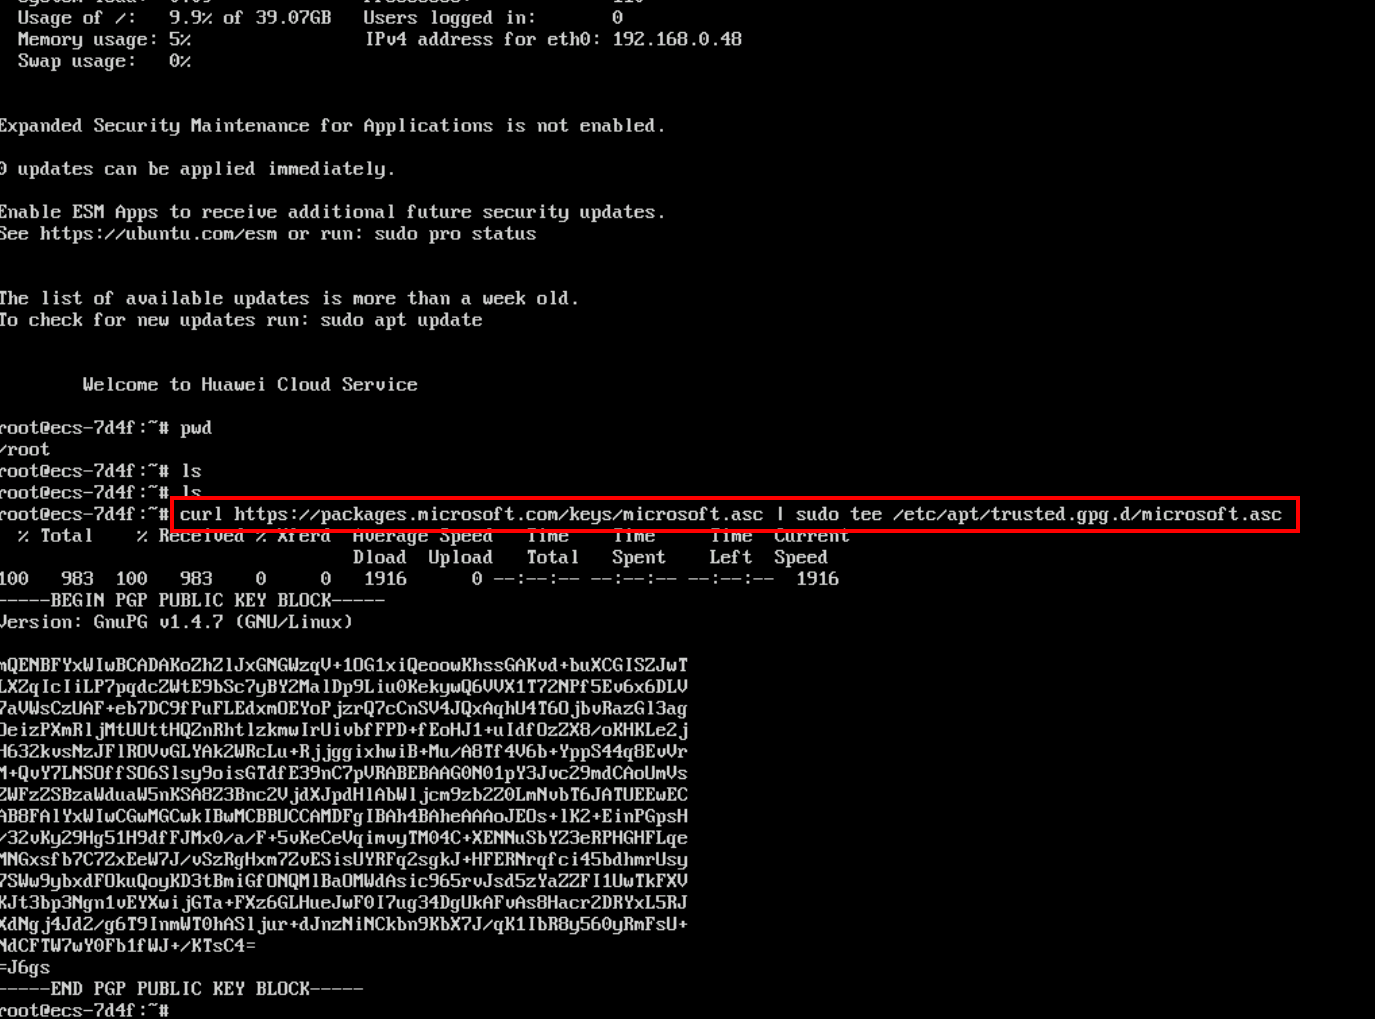
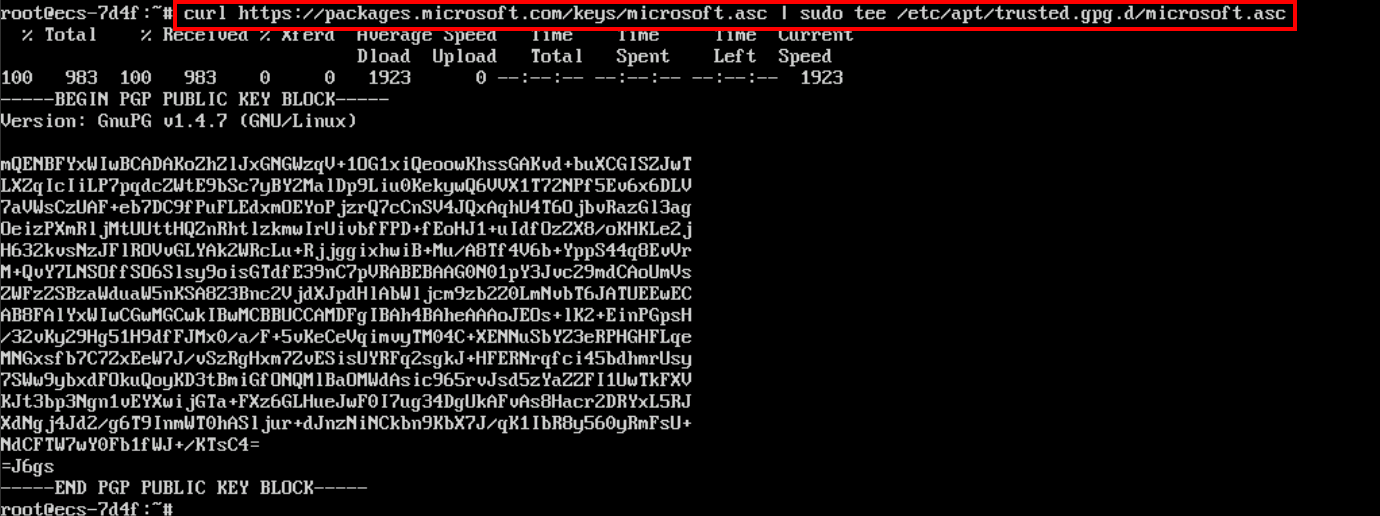
Import the GPG keys from the Microsoft public repository using the following command:
curl https://packages.microsoft.com/keys/microsoft.asc | sudo tee /etc/apt/trusted.gpg.d/microsoft.asc
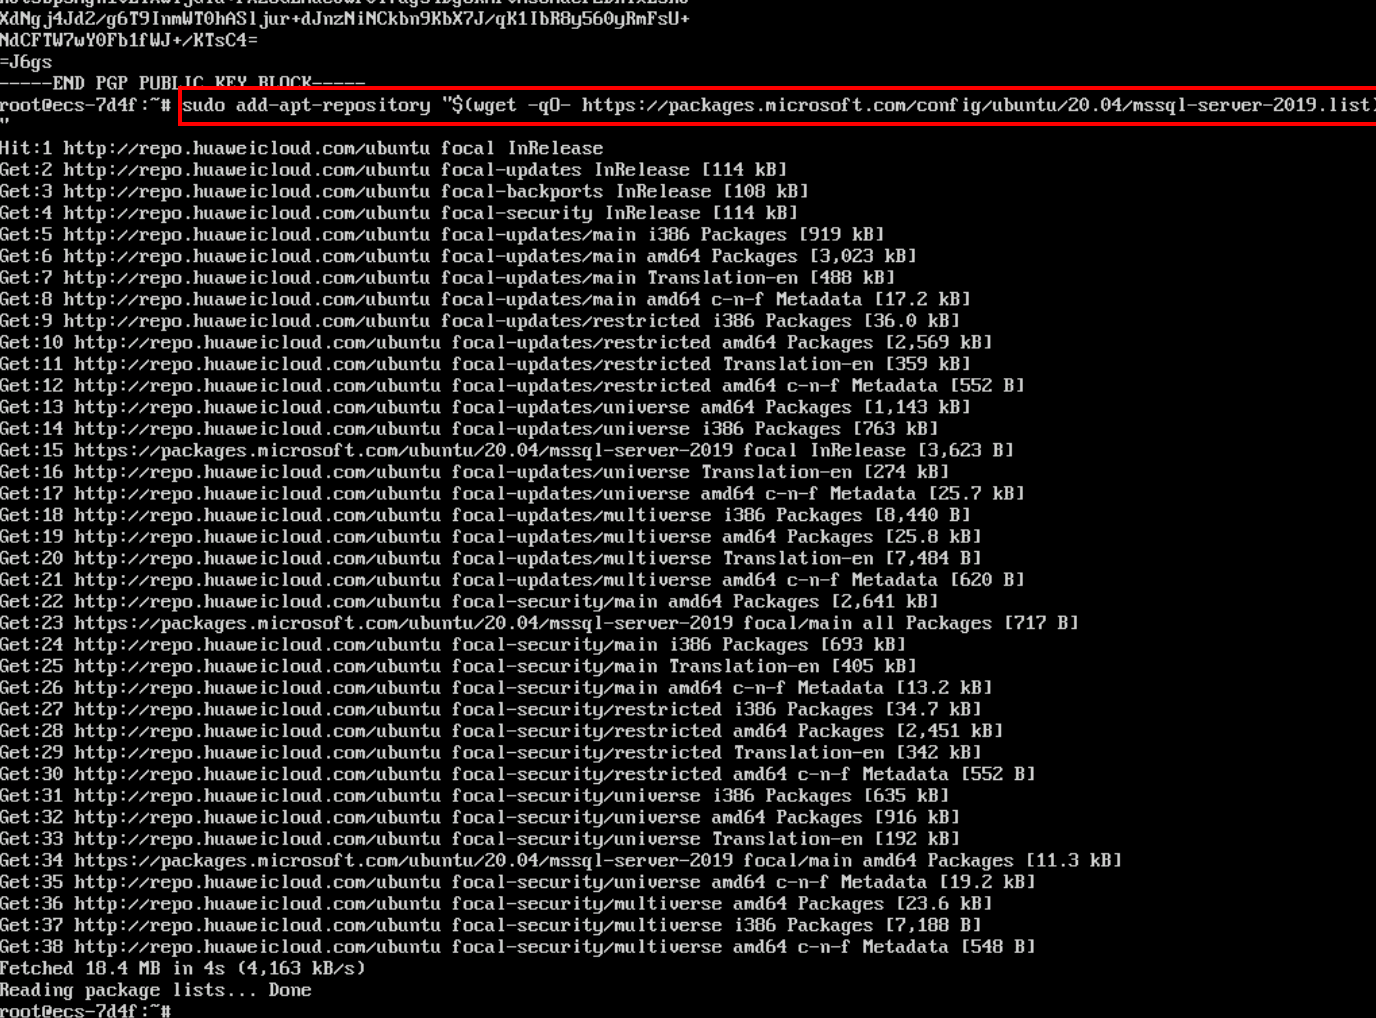
Register the SQL Server Ubuntu repository:
- SQL Server 2019 (Ubuntu 20.04)
sudo add-apt-repository "$(wget -qO- https://packages.microsoft.com/config/ubuntu/20.04/mssql-server-2019.list)"
- SQL Server 2017 (Ubuntu 18.04)
sudo add-apt-repository "$(wget -qO- https://packages.microsoft.com/config/ubuntu/18.04/mssql-server-2017.list)"
- SQL Server 2022 (Ubuntu 20.04)
sudo add-apt-repository "$(wget -qO- https://packages.microsoft.com/config/ubuntu/20.04/mssql-server-2022.list)"
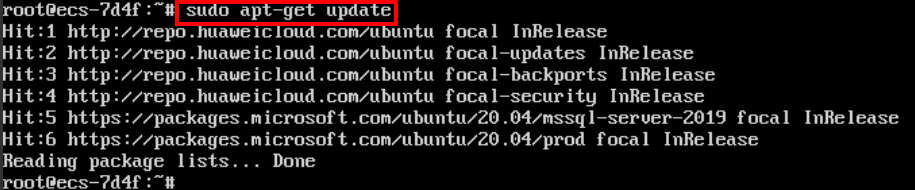
Run the following command to update the system package repositories:
sudo apt-get update

Run the following command to install SQL Server:
sudo apt-get install -y mssql-server
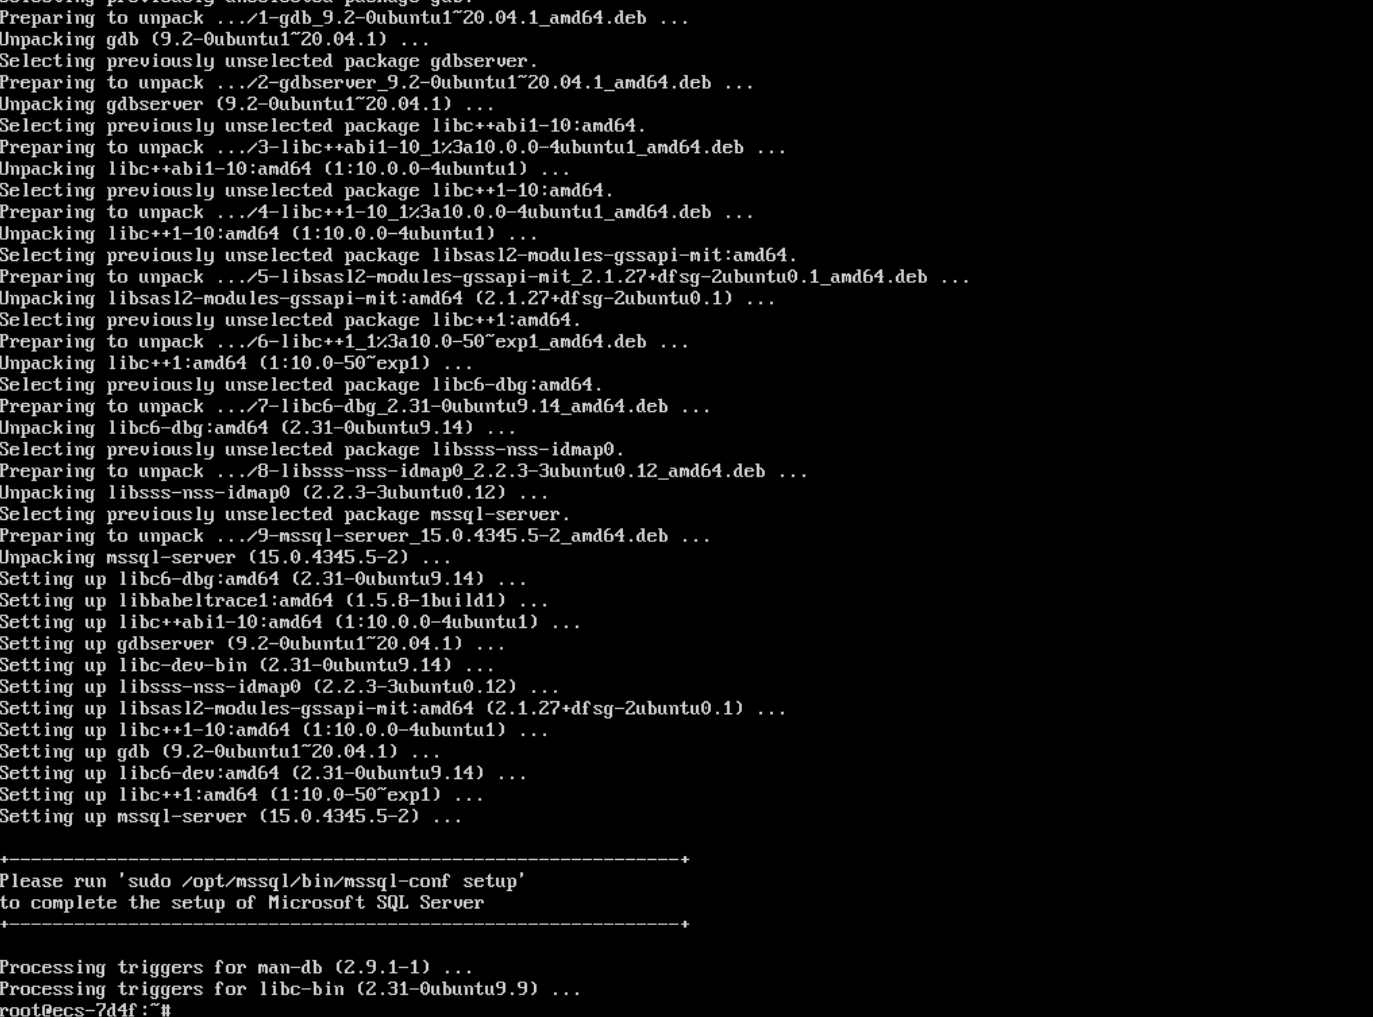
Once installed, run the following command to configure SQL Server:
sudo /opt/mssql/bin/mssql-conf setup
Select the SQL Server edition to be installed, accept the terms of service, and set a password for the SQL Server administrator account.
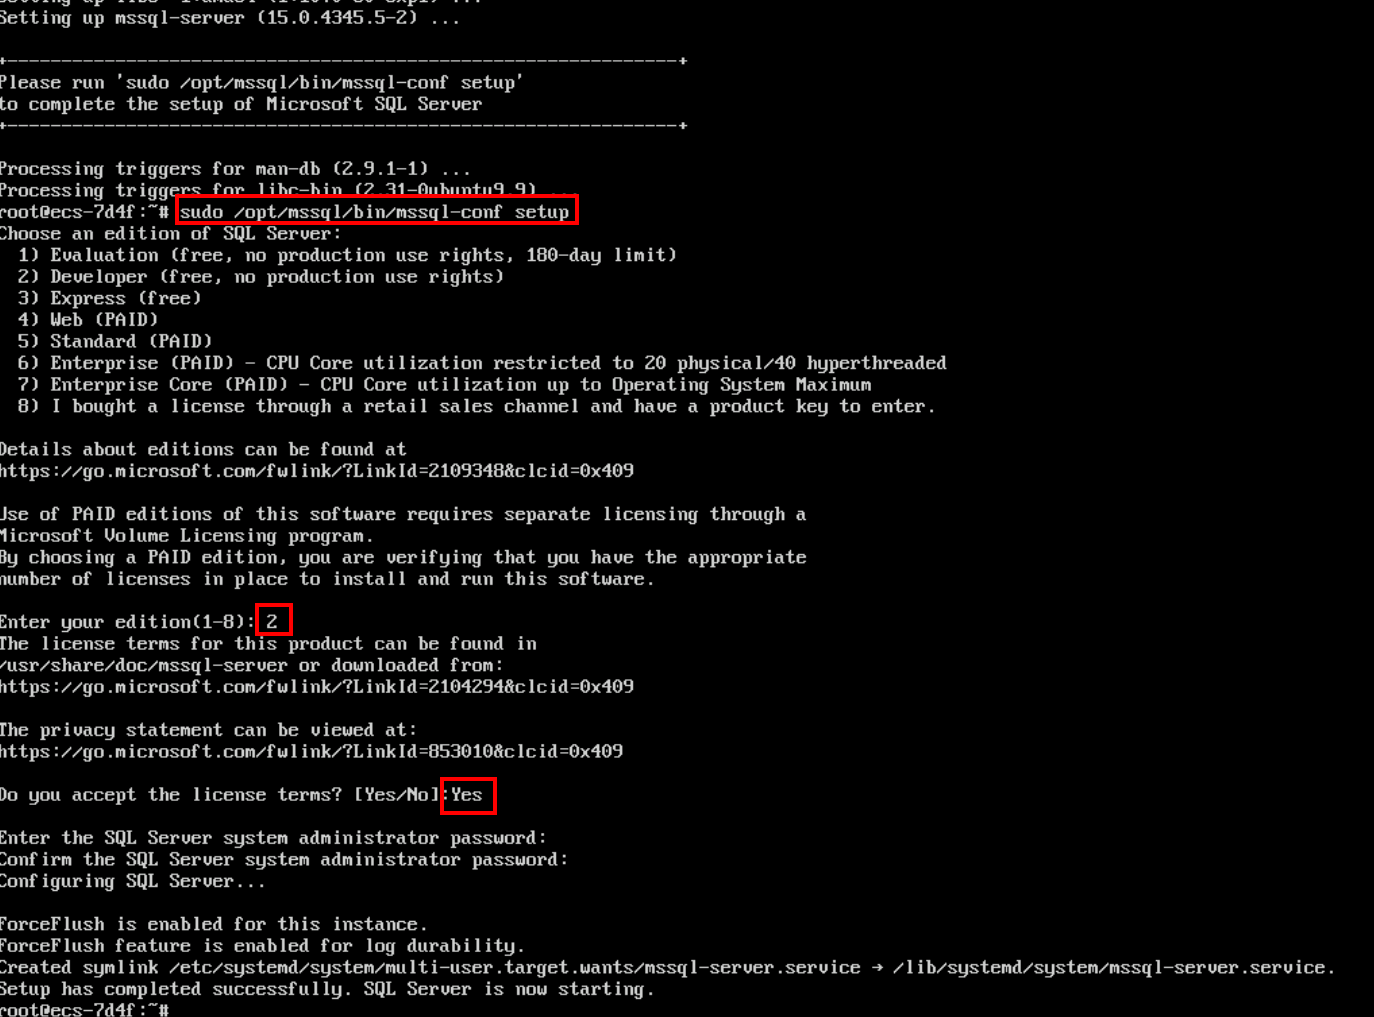
To check if SQL Server is running, run the following command:
systemctl status mssql-server --no-pager
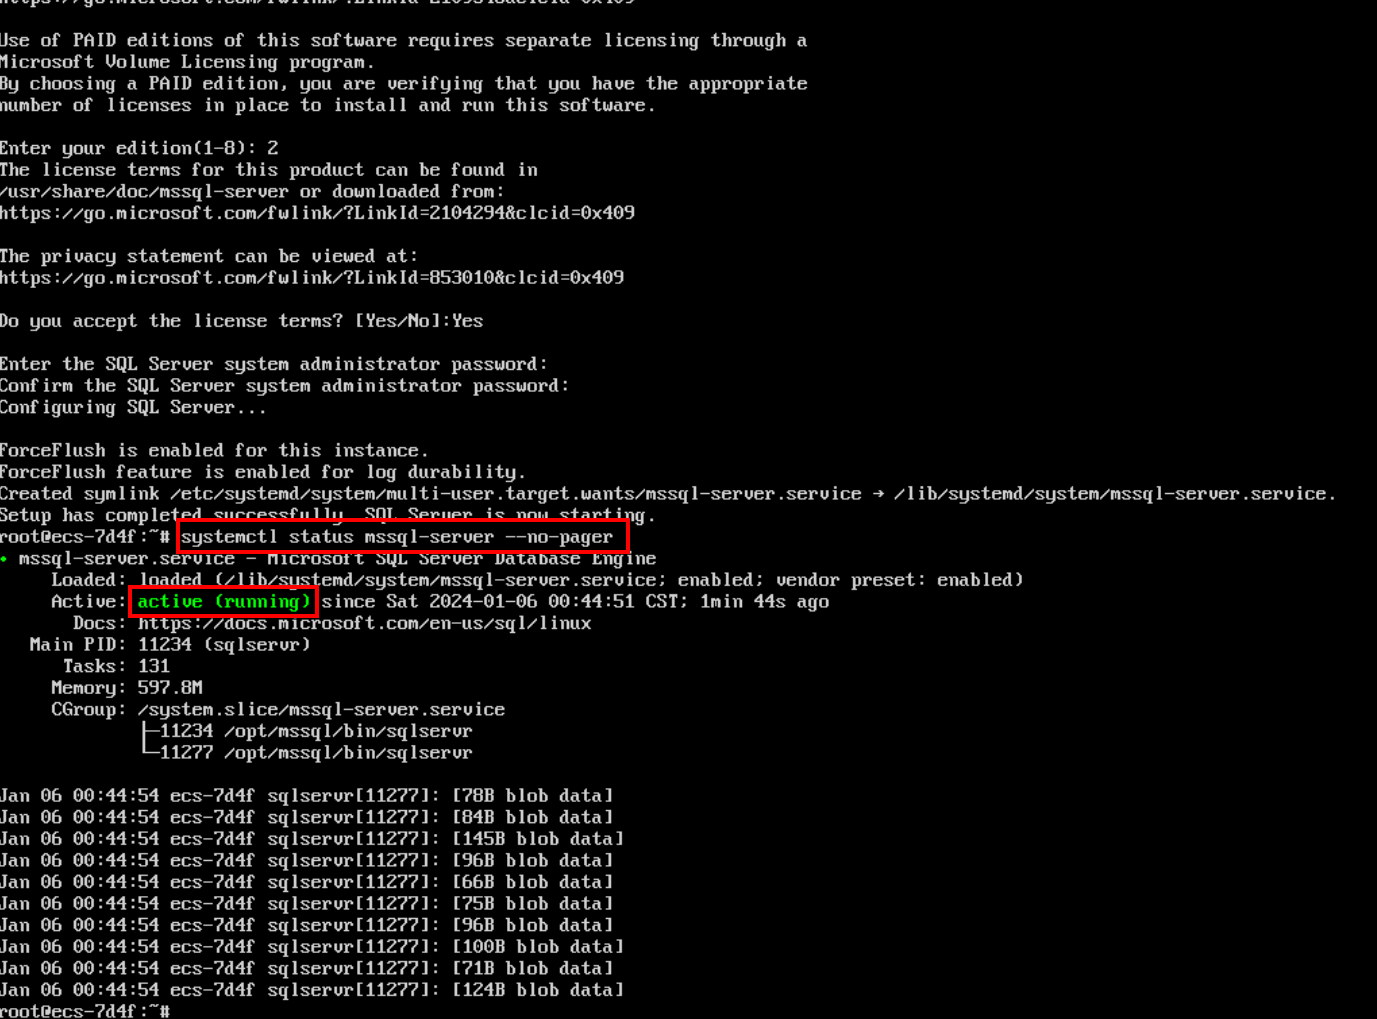
The SQL Server service is running and is denoted by the “active (running)” status.
Connect to SQL Server
To connect to SQL Server, other tools need to be installed.
For Windows instances, you can connect using SQL Management Studio. For Linux instances, you can connect using the SQLcmd Utility tool.
Linux
Import the GPG keys from the Microsoft public repository:
curl https://packages.microsoft.com/keys/microsoft.asc | sudo tee /etc/apt/trusted.gpg.d/microsoft.asc
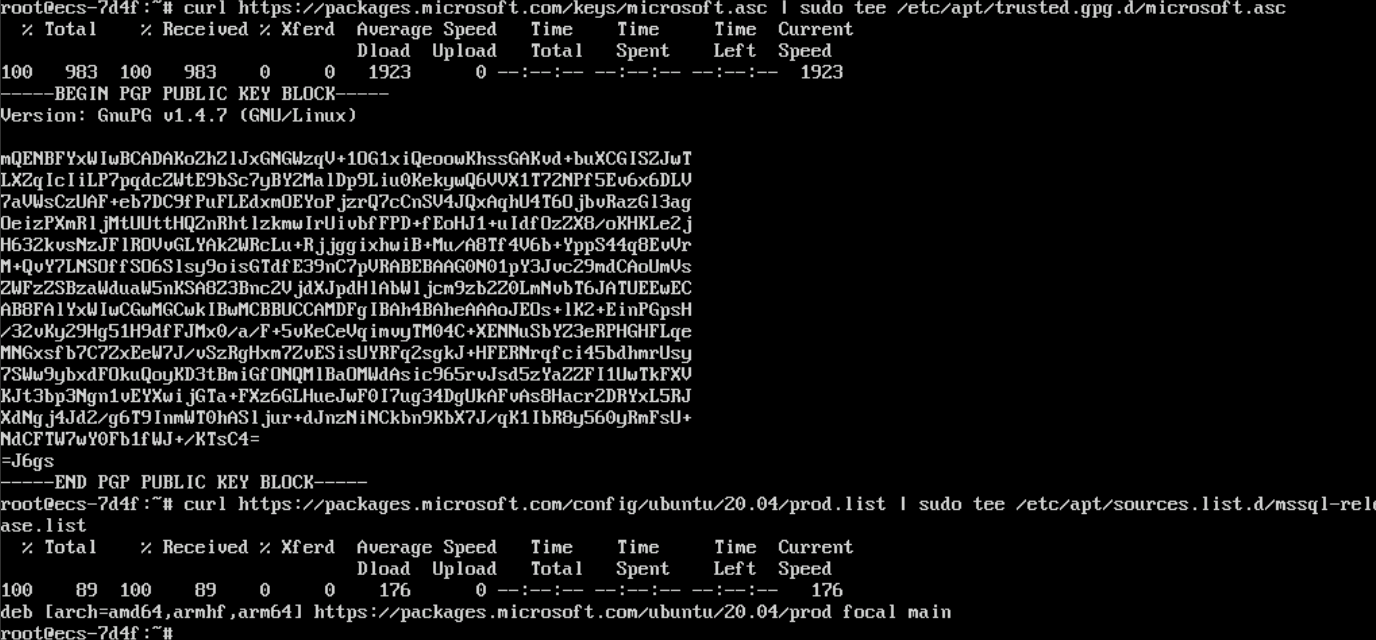
Register the Microsoft Ubuntu repository:
- Ubuntu 22.04
curl https://packages.microsoft.com/config/ubuntu/22.04/prod.list | sudo tee /etc/apt/sources.list.d/mssql-release.list
- Ubuntu 20.04
curl https://packages.microsoft.com/config/ubuntu/20.04/prod.list | sudo tee /etc/apt/sources.list.d/mssql-release.list
- Ubuntu 18.04
curl https://packages.microsoft.com/config/ubuntu/18.04/prod.list | sudo tee /etc/apt/sources.list.d/mssql-release.list
- Ubuntu 16.04
curl https://packages.microsoft.com/config/ubuntu/16.04/prod.list | sudo tee /etc/apt/sources.list.d/mssql-release.list
Update the system repositories:
sudo apt-get update
Install the sqlcmd utility:
sudo apt-get install mssql-tools18 unixodbc-dev
Add sqlcmd to the environment variables:
echo 'export PATH="$PATH:/opt/mssql-tools18/bin"' >> ~/.bash_profile
Add sqlcmd to the environment variables:
echo 'export PATH="$PATH:/opt/mssql-tools18/bin"' >> ~/.bashrc
source ~/.bashrc
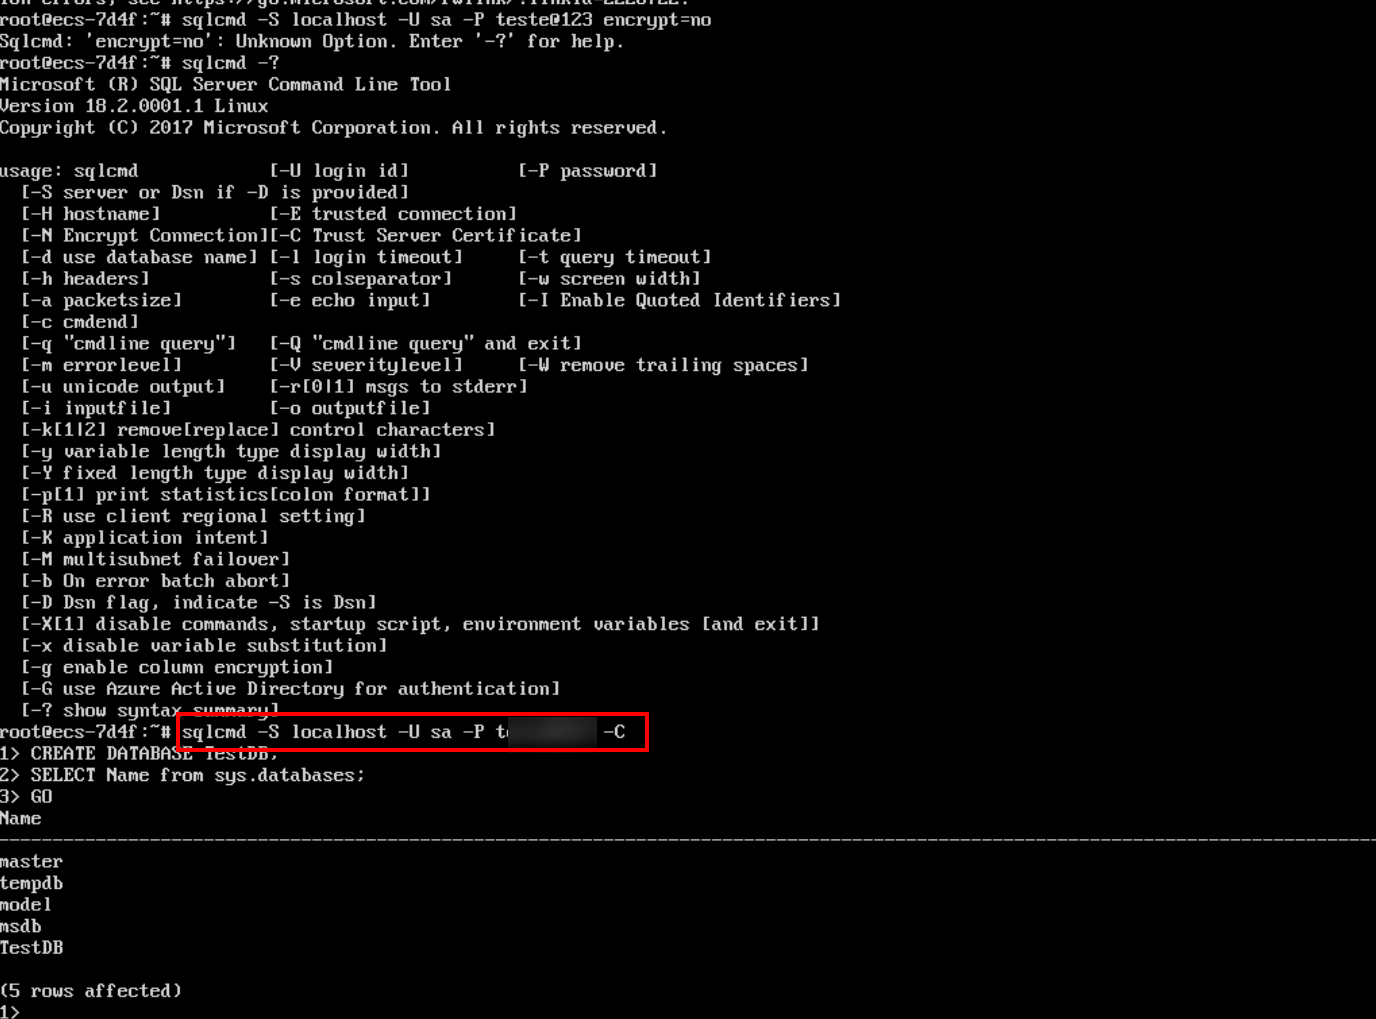
To connect locally to the SQL Server instance, type the following command:
sqlcmd -S localhost -U sa -P '<YourPassword>' -C
Windows
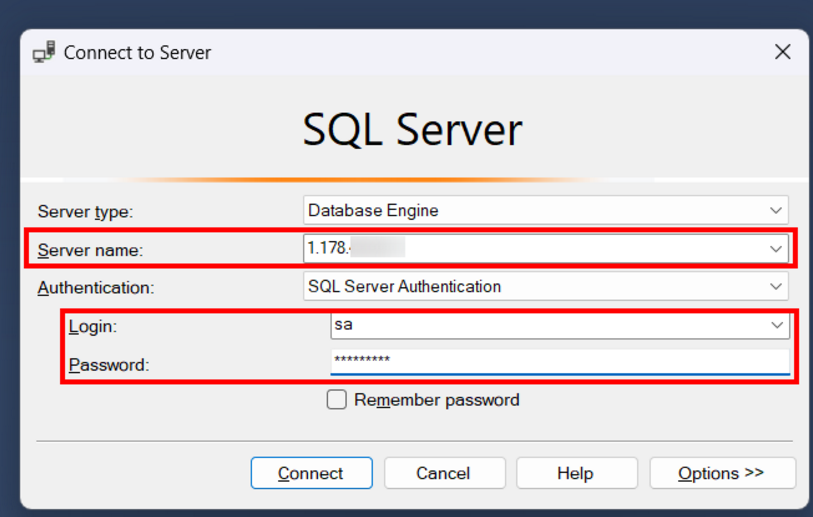
Download the SQL Management Studio tool and install it:
To log in to the SQL Server instance running on the Linux instance, select the authentication option “SQL Server Authentication” and Server Type of “Database Engine”. The default user configured during the SQL Server installation is “sa”. Click “Connect” when the login data is entered.