![]()
VPN Client to Site Startup
V1.0 – September 2024
| Version | Author | Description |
|---|---|---|
| V1.0 – 2024-09-10 | Diogo Hatz d50037923 | Initial Version |
| V1.0 – 2024-09-10 | Wisley da Silva Paulo 00830850 | Document Review |
Objective
This document aims to present the procedures required to provision a Client-to-Site VPN using Huawei Cloud’s P2C VPN service and accessing it through the OpenVPN client.
Considerations
-
At the time of writing this document, Huawei Cloud’s P2C VPN is only available in the São Paulo region and with the yearly/monthly billing method;
-
An SSL certificate is required to authenticate the VPN, which can be generated free of charge using the EasyRSA tool.
Certificate
To authenticate the P2C VPN, it is first necessary to generate an SSL certificate that will be hosted on Huawei Cloud’s CCM service. In this example, the tool that will be used to generate the certificate will be Easy-RSA, however, all other tools are also supported, such as Let’s Encrypt.
Note: If another certificate issuing tool is used, it is necessary to include the certificate chain in the certificate.
Download the Easy-RSA tool through the following hyperlink: https://github.com/OpenVPN/easy-rsa/releases/download/v3.1.7/EasyRSA-3.1.7-win64.zip.
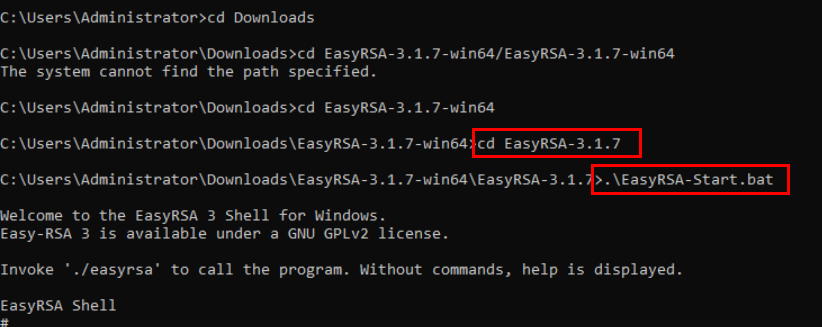
After extracting the downloaded file, open CMD and navigate to the extracted folder of the downloaded file.

After navigating to the EasyRSA folder, run the “EasyRSA-Start.bat” file using the “.\EasyRSA-Start.bat” command
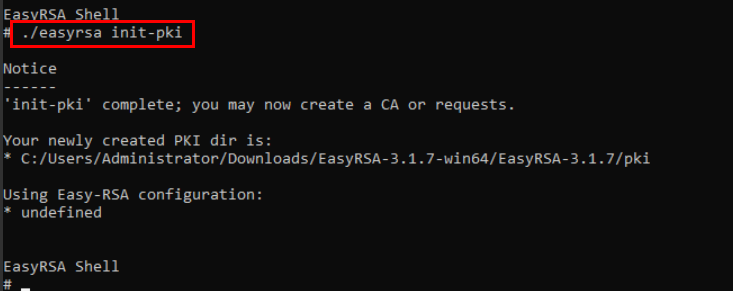
Enter the “./easyrsa init-pki” command to initialize the PKI environment
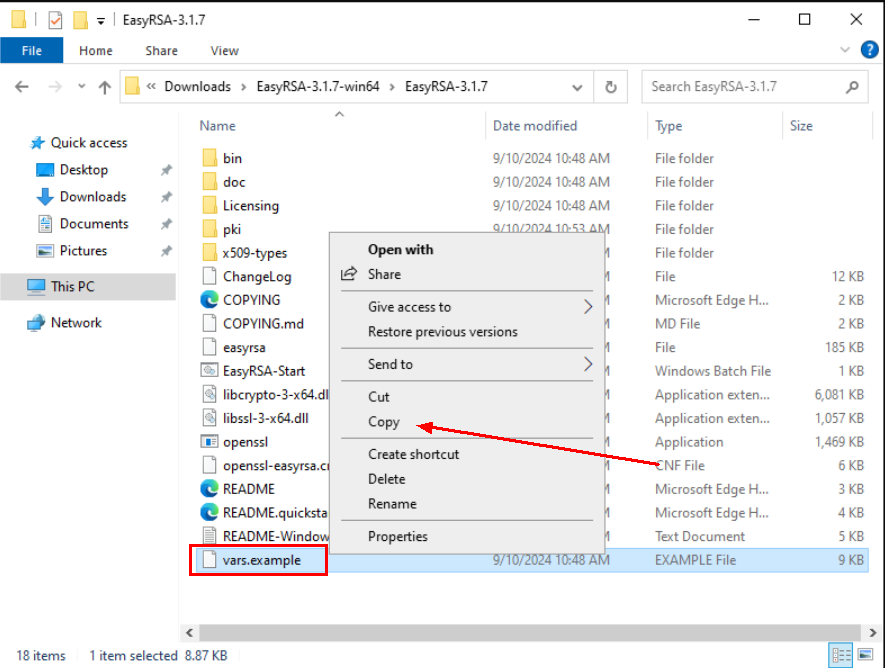
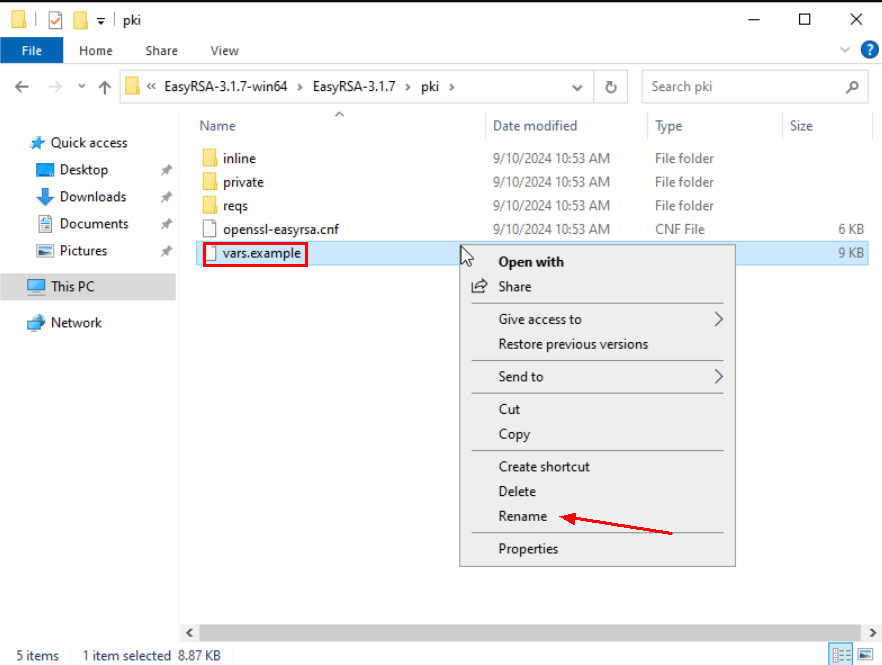
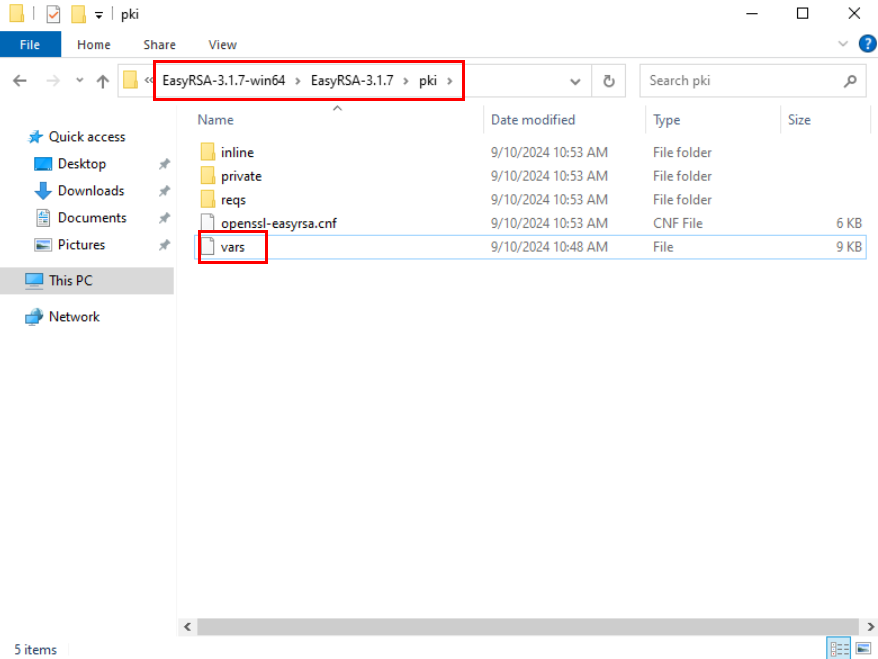
Copy the “vars.example” file from the C:\EasyRSA-3.1.7 directory to the C:\EasyRSA-3.1.7\pki and then rename the file to “vars”.
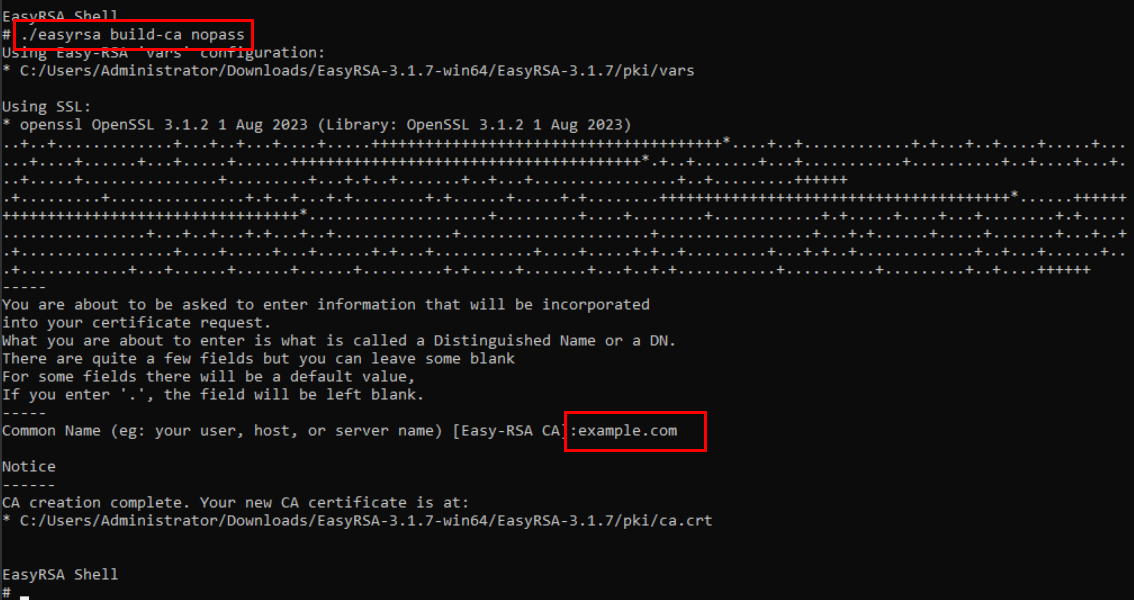
Go back to CMD and use the command “./easyrsa build-ca nopass” to generate a CA certificate.
-
By default, the CA certificate will be stored in the C:\EasyRSA-3.1.7\pki directory. In this example, the “ca.crt” certificate was generated.
-
By default, the private key of the CA certificate will be stored in the C:\EasyRSA-3.1.7\pki\private directory. In this example, the “ca.key” certificate was generated.
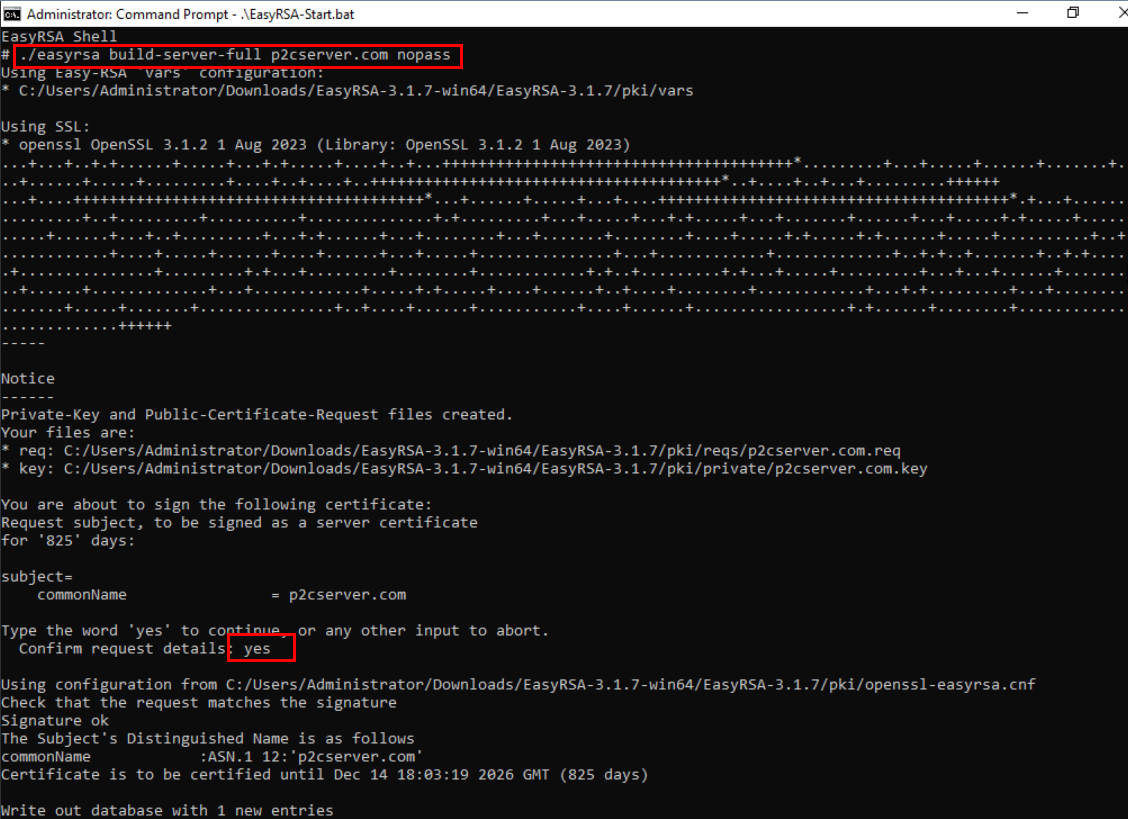
Use the “./easyrsa build-server-full p2cserver.com nopass” command to generate a server certificate and its private key. Note that the “p2cserver.com” argument will be the common name (CN) of the generated certificate.
-
By default, the server certificate will be stored in the C:\EasyRSA-3.1.7\pki\issued directory. In this example, the “p2cserver.com.crt” certificate was generated.
-
By default, the server certificate’s private key will be stored in the C:\EasyRSA-3.1.7\pki\private directory. In this example, the “p2cserver.com.key” certificate was generated.
Note: There are two ways to perform client authentication, one is through a username and password defined in the HWC console and the other is through an SSL certificate. For the second option, follow the step below. Otherwise, skip this step.
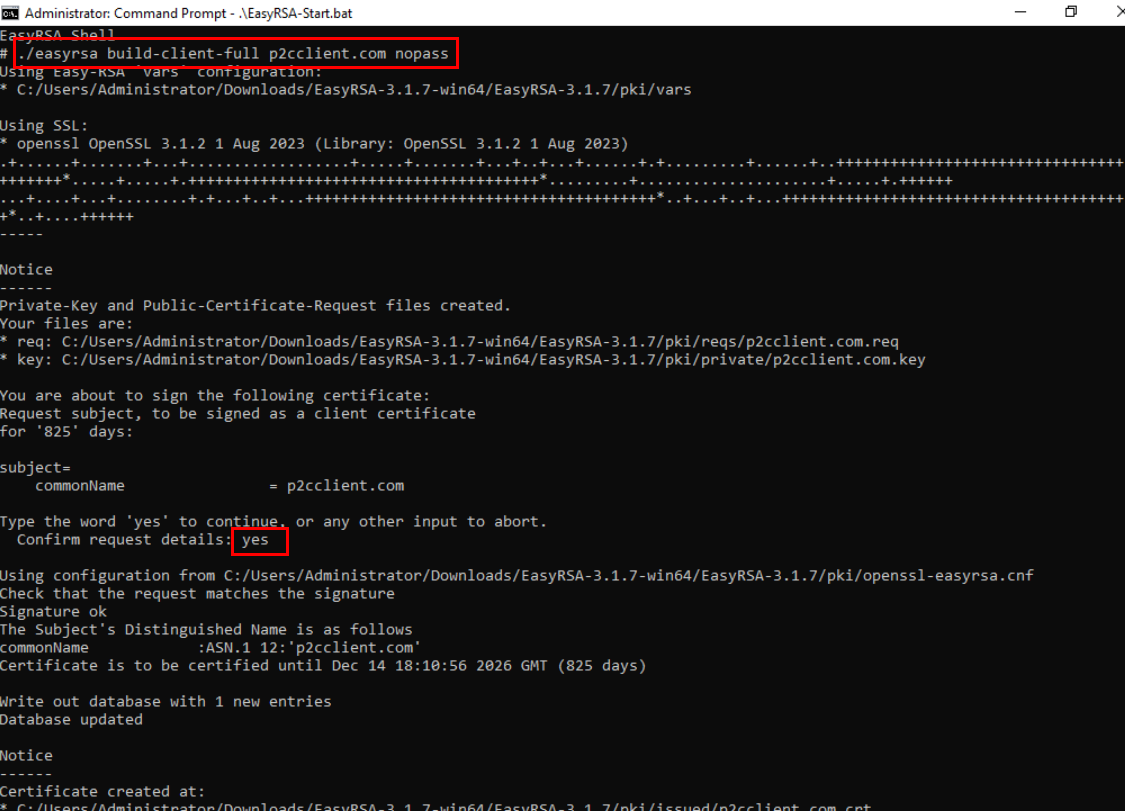
Use the command ./easyrsa build-client-full p2cclient.com nopass” to generate a client certificate and its private key.
-
By default, the client certificate will be stored in the C:\EasyRSA-3.1.7\pki\issued directory. In this example, the “p2cclient.com.crt” certificate was generated.
-
By default, the server certificate’s private key will be stored in the C:\EasyRSA-3.1.7\pki\private directory. In this example, the “p2cclient.com.key” certificate was generated.
CCM
After issuing the certificate(s) in the previous section, you need to publish the server certificate to the service Huawei Cloud Certificate Manager (CCM). To do this, navigate to the CCM service in the HWC console. 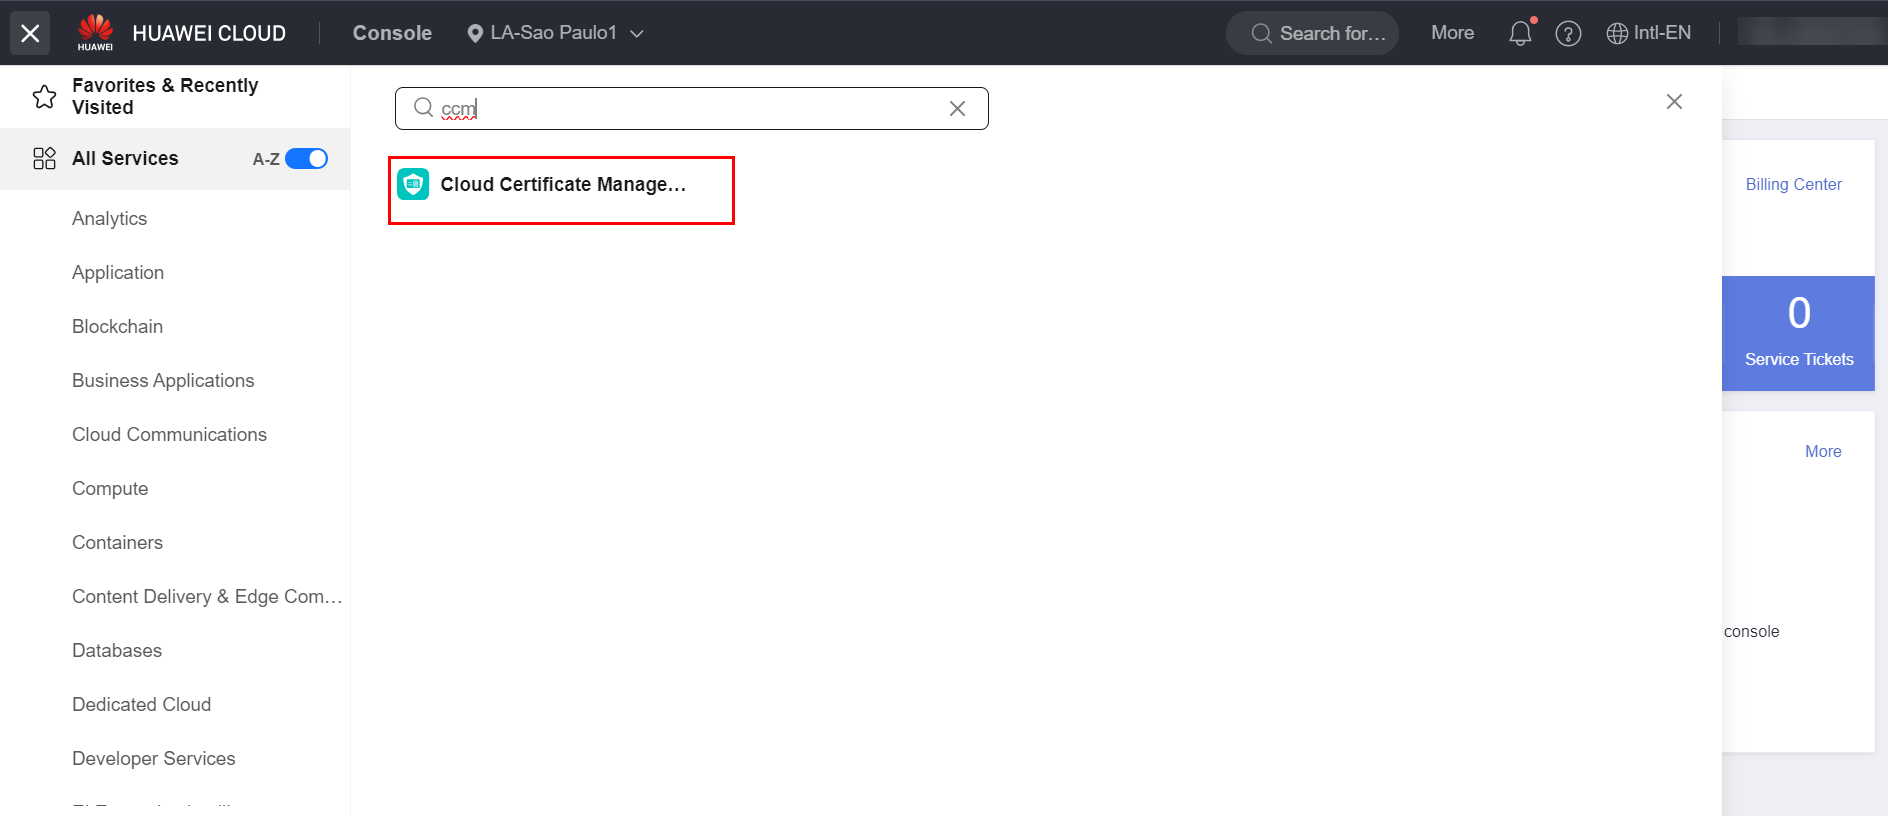 Click on the “Hosted Certificates” section and select the “Upload Certificate” option.
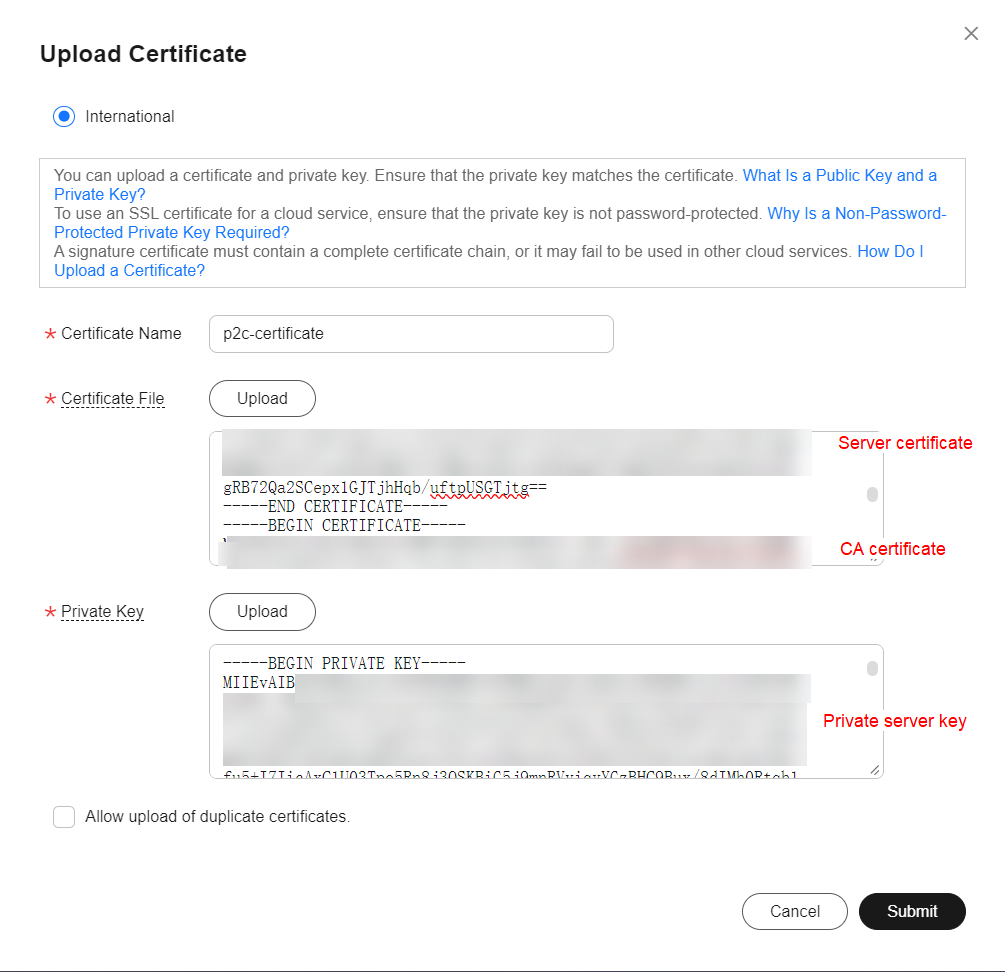
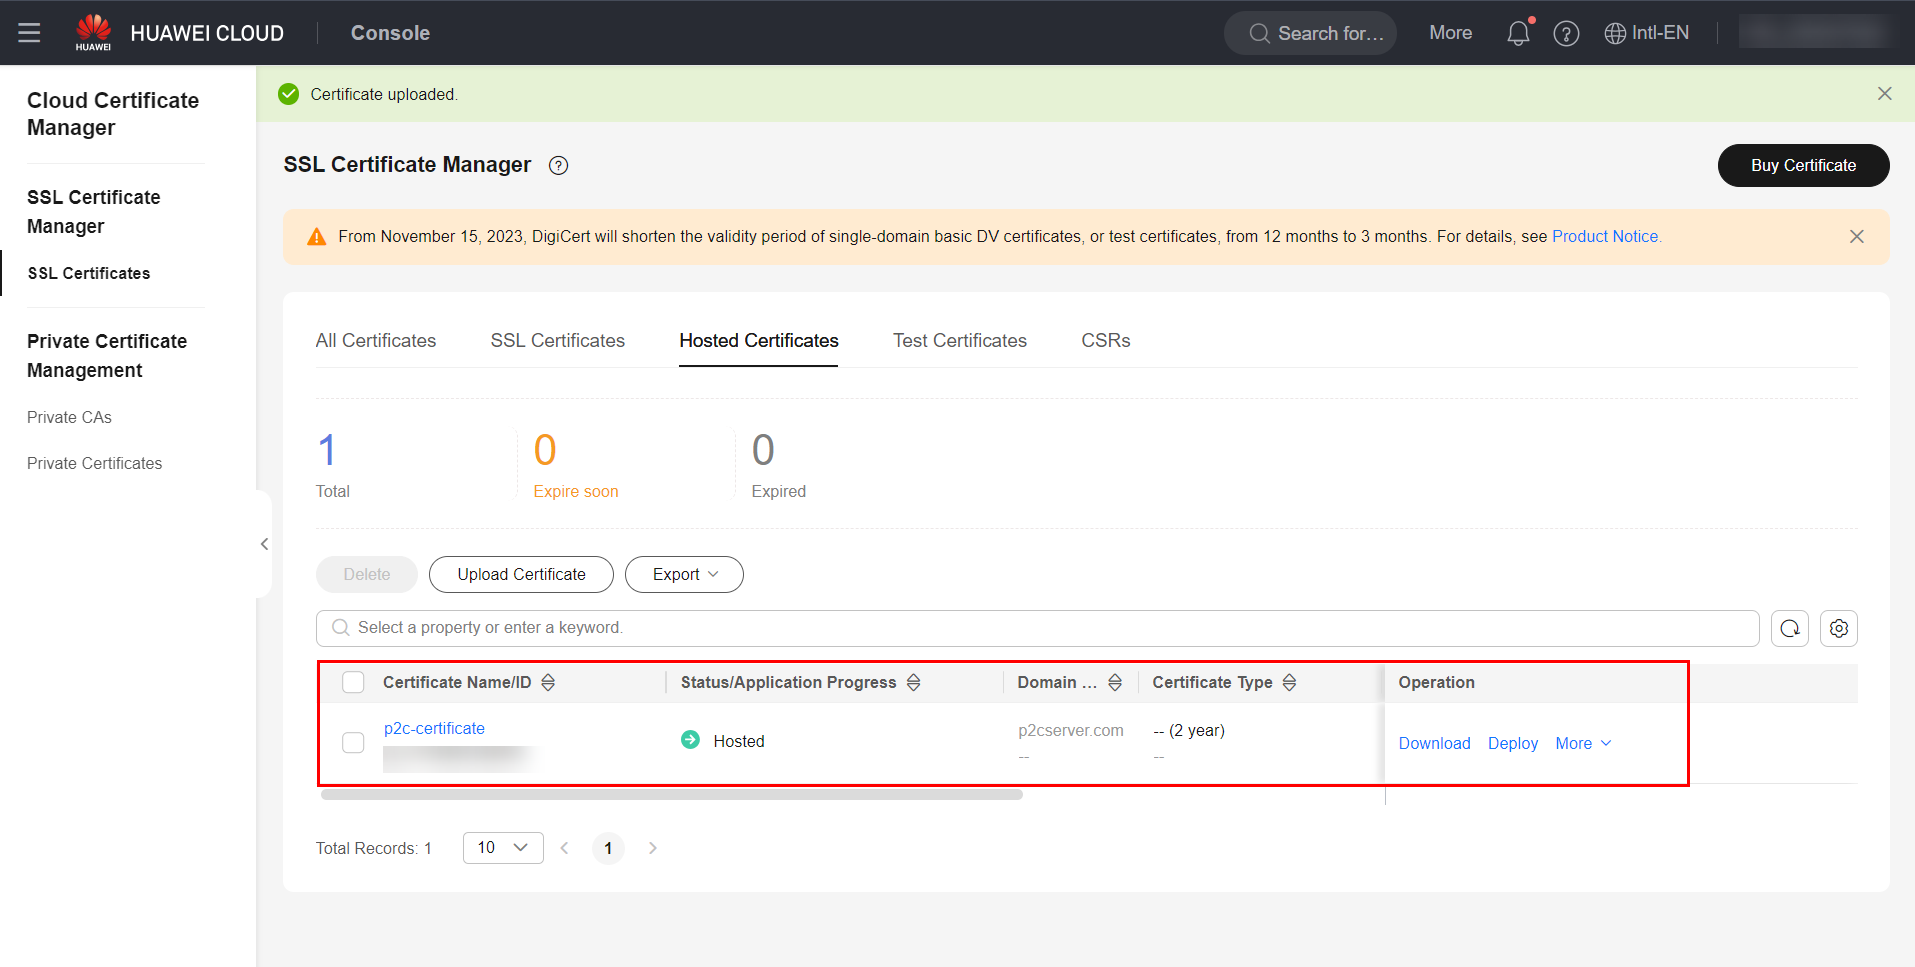
 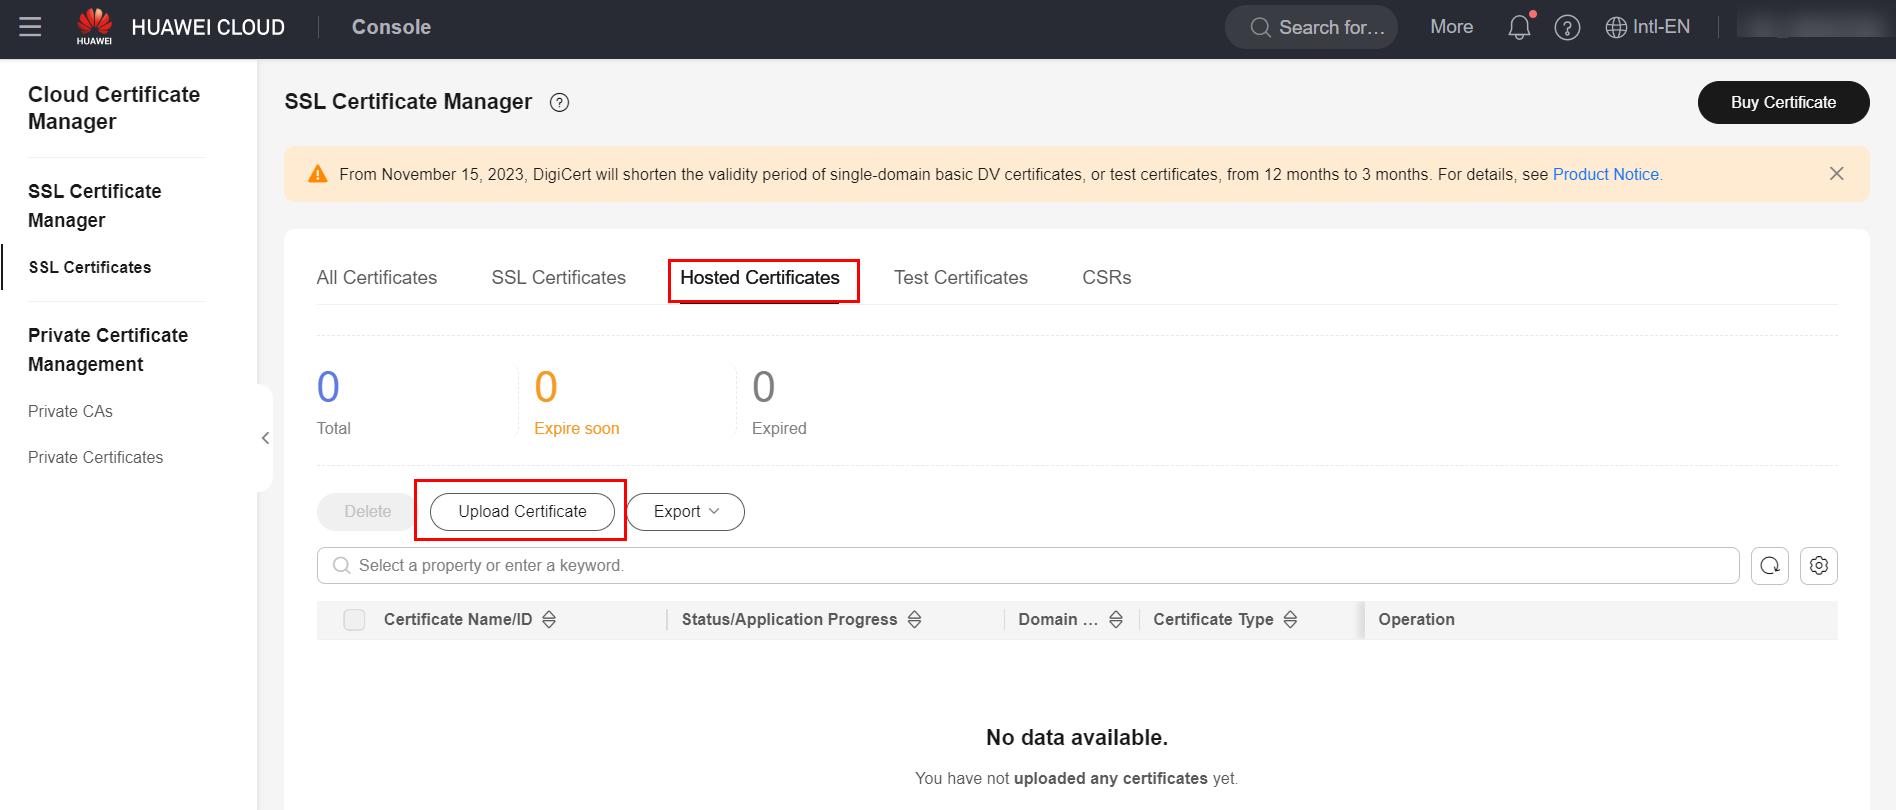 In the “Certificate File” field, you must enter both the server and CA certificates, in that order. Therefore, enter the server certificate first and then, in the same text box, the CA certificate. In the “Private Key” field, simply enter the content of the server’s private key. After entering both fields, simply click “Submit” to save the certificate.
P2C VPN
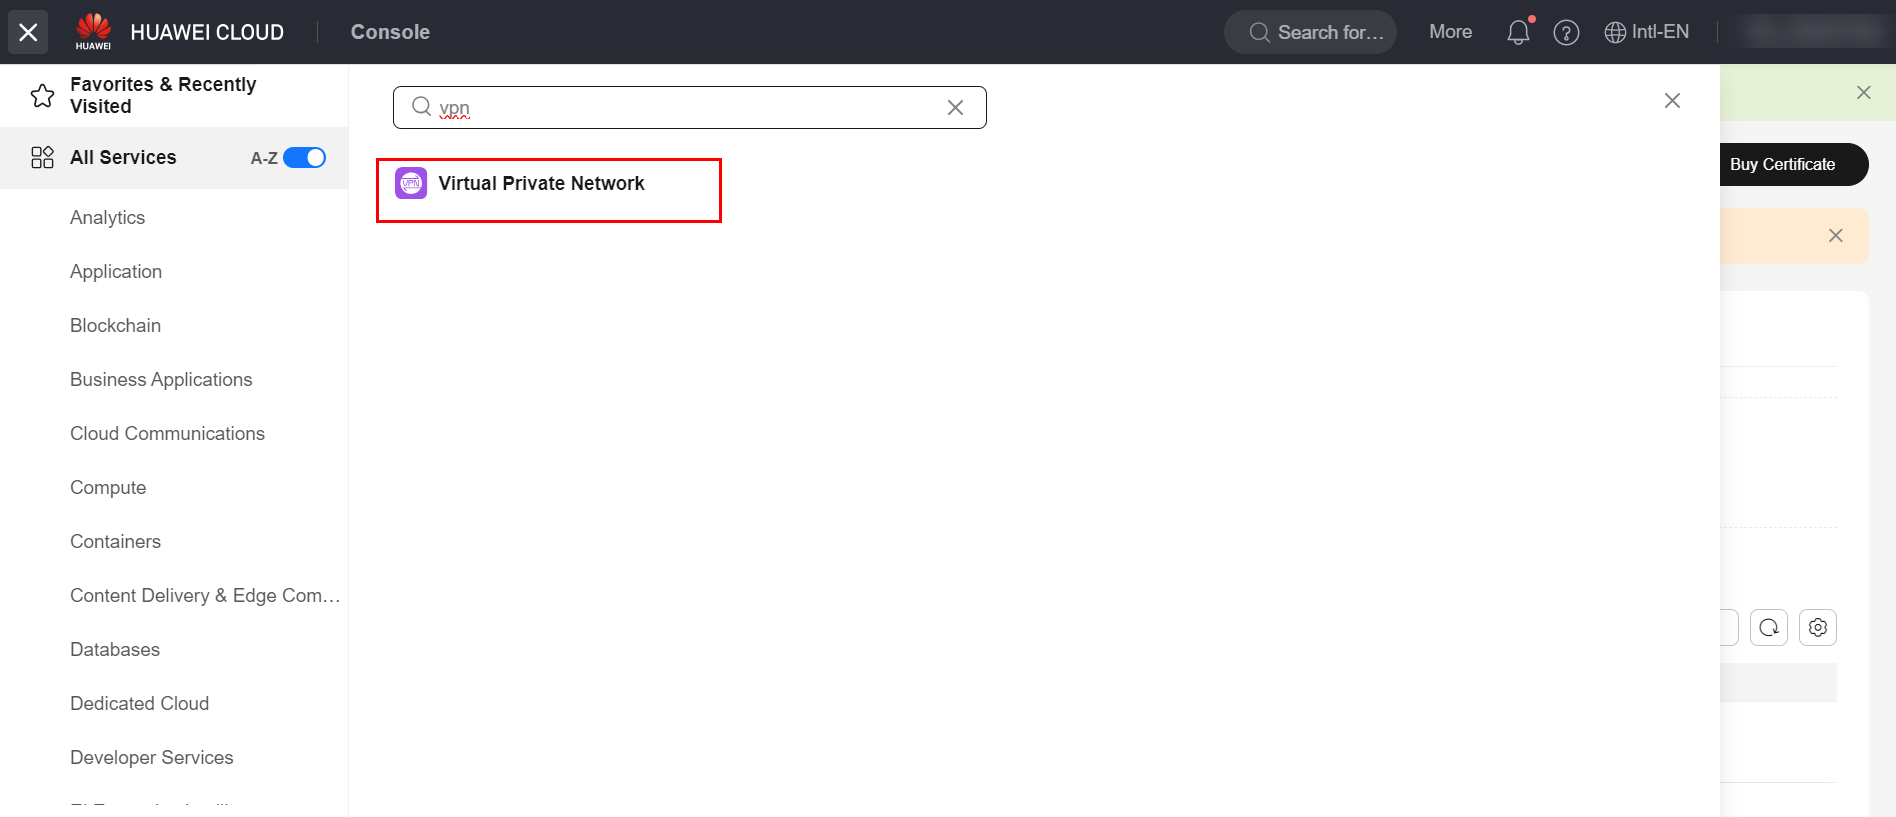
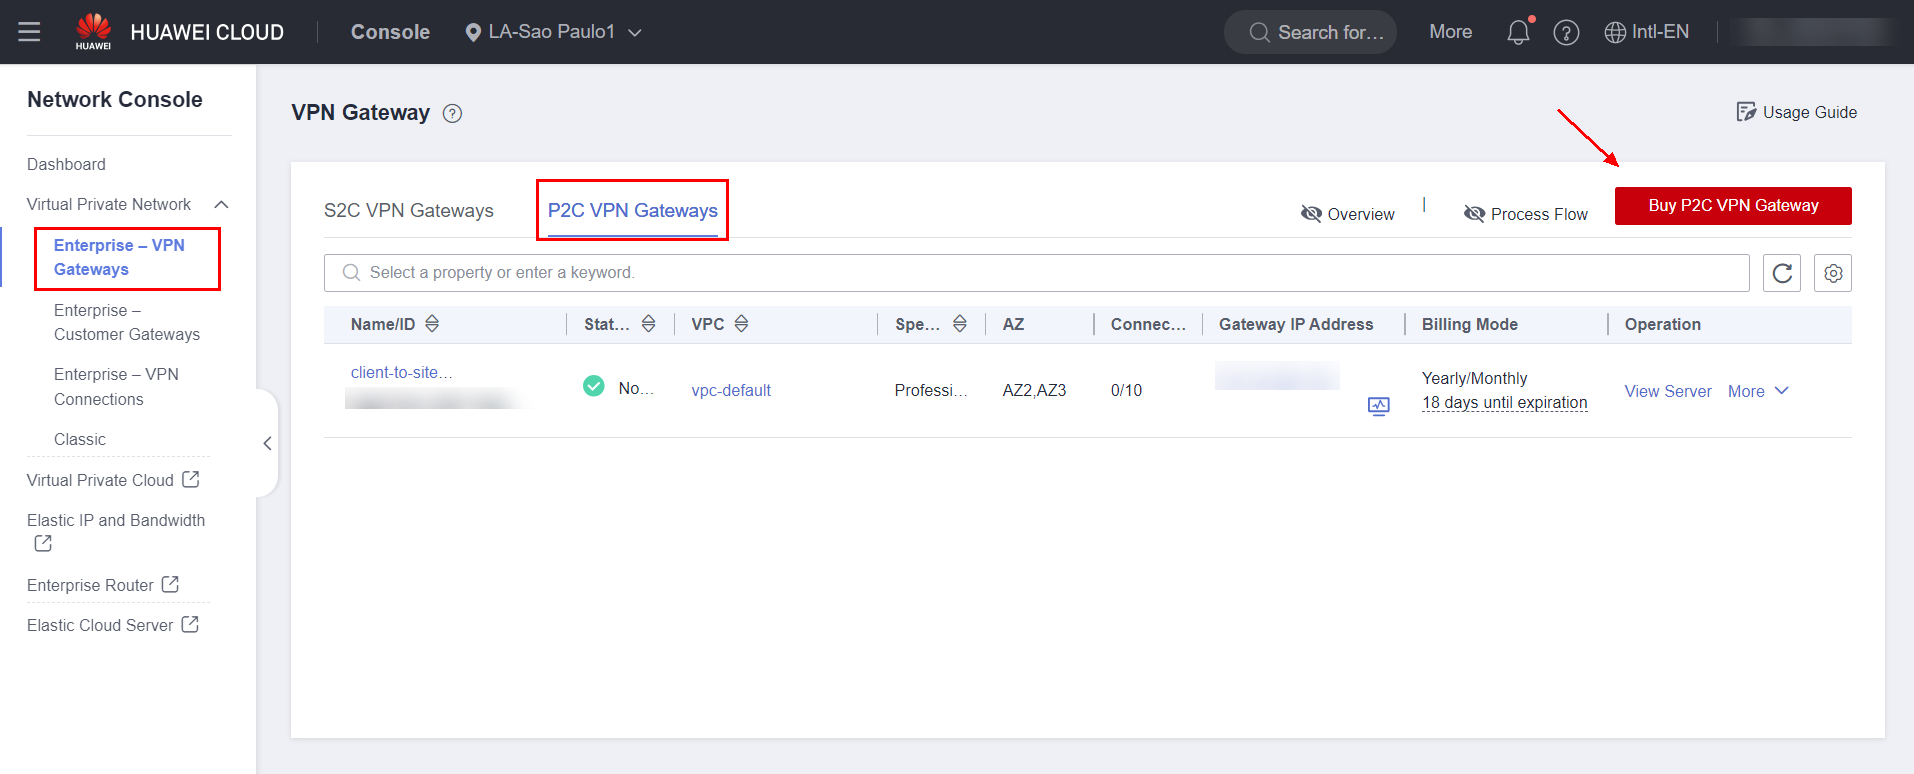
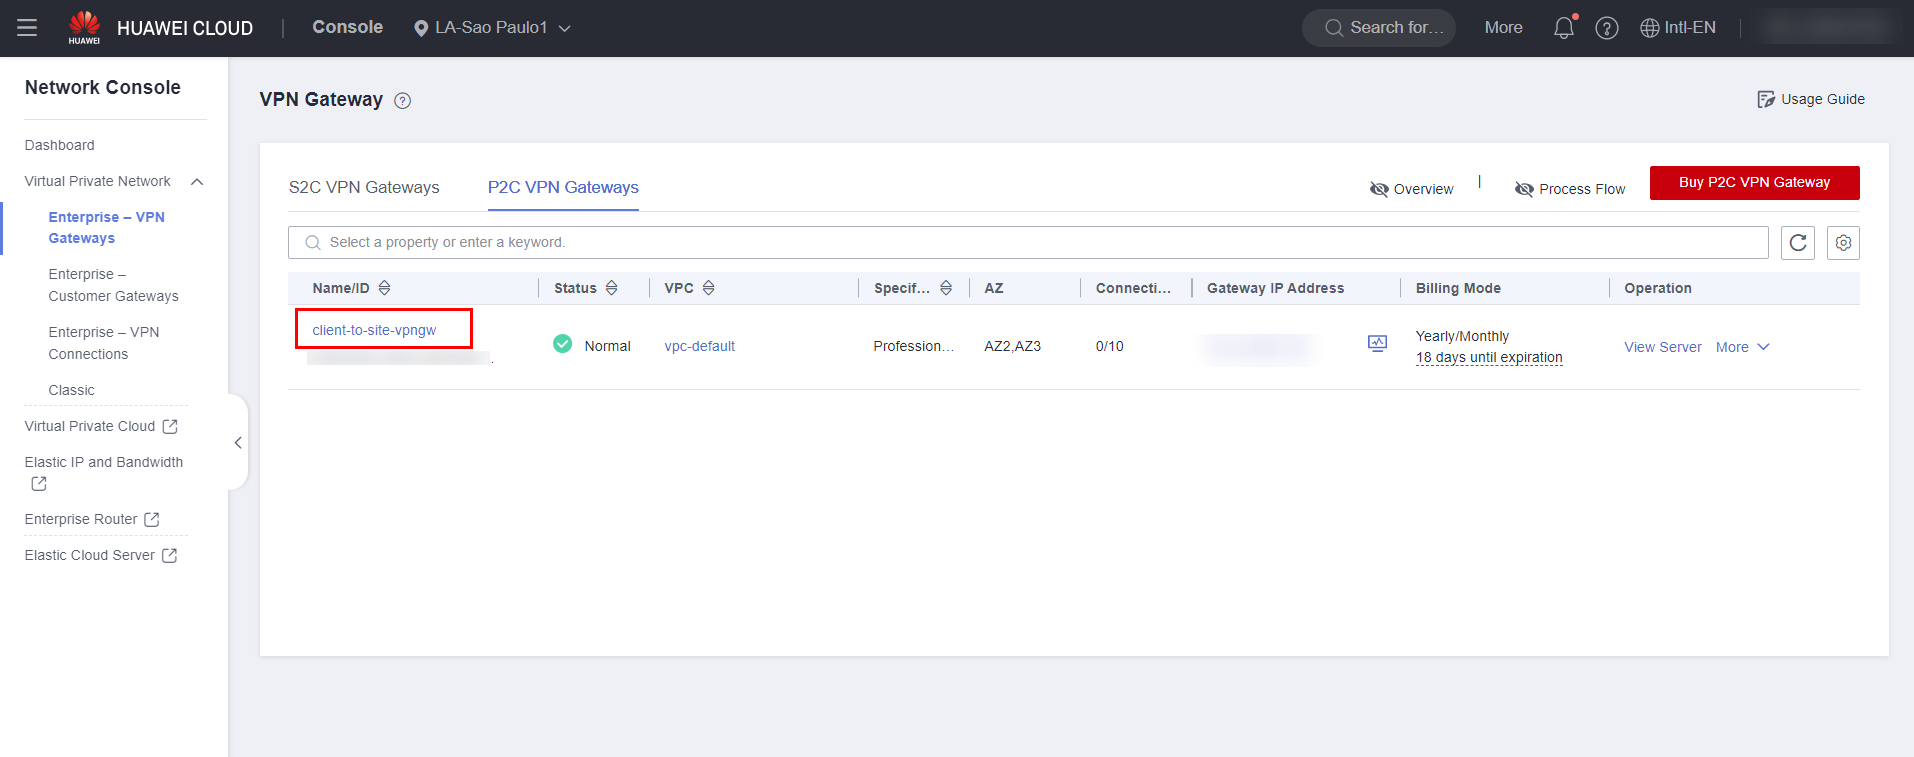
Navigate to the VPN service in the Huawei Cloud console and click the “Enterprise – VPN Gateways” section, followed by “P2C VPN Gateways” and “Buy P2C VPN Gateway”.
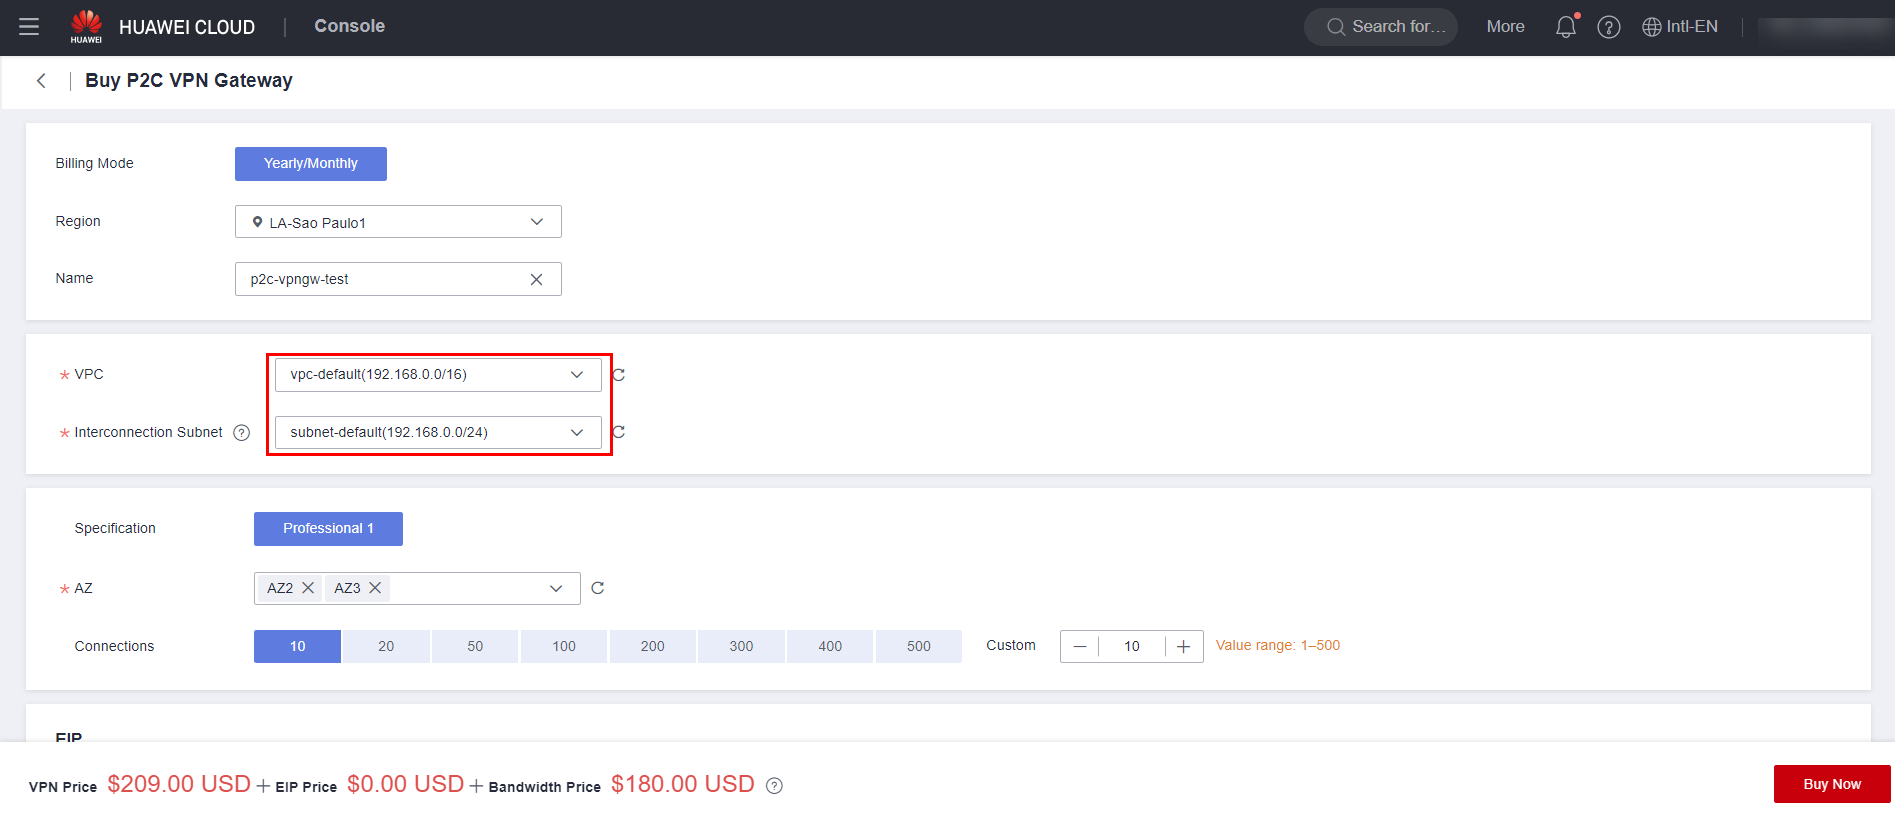
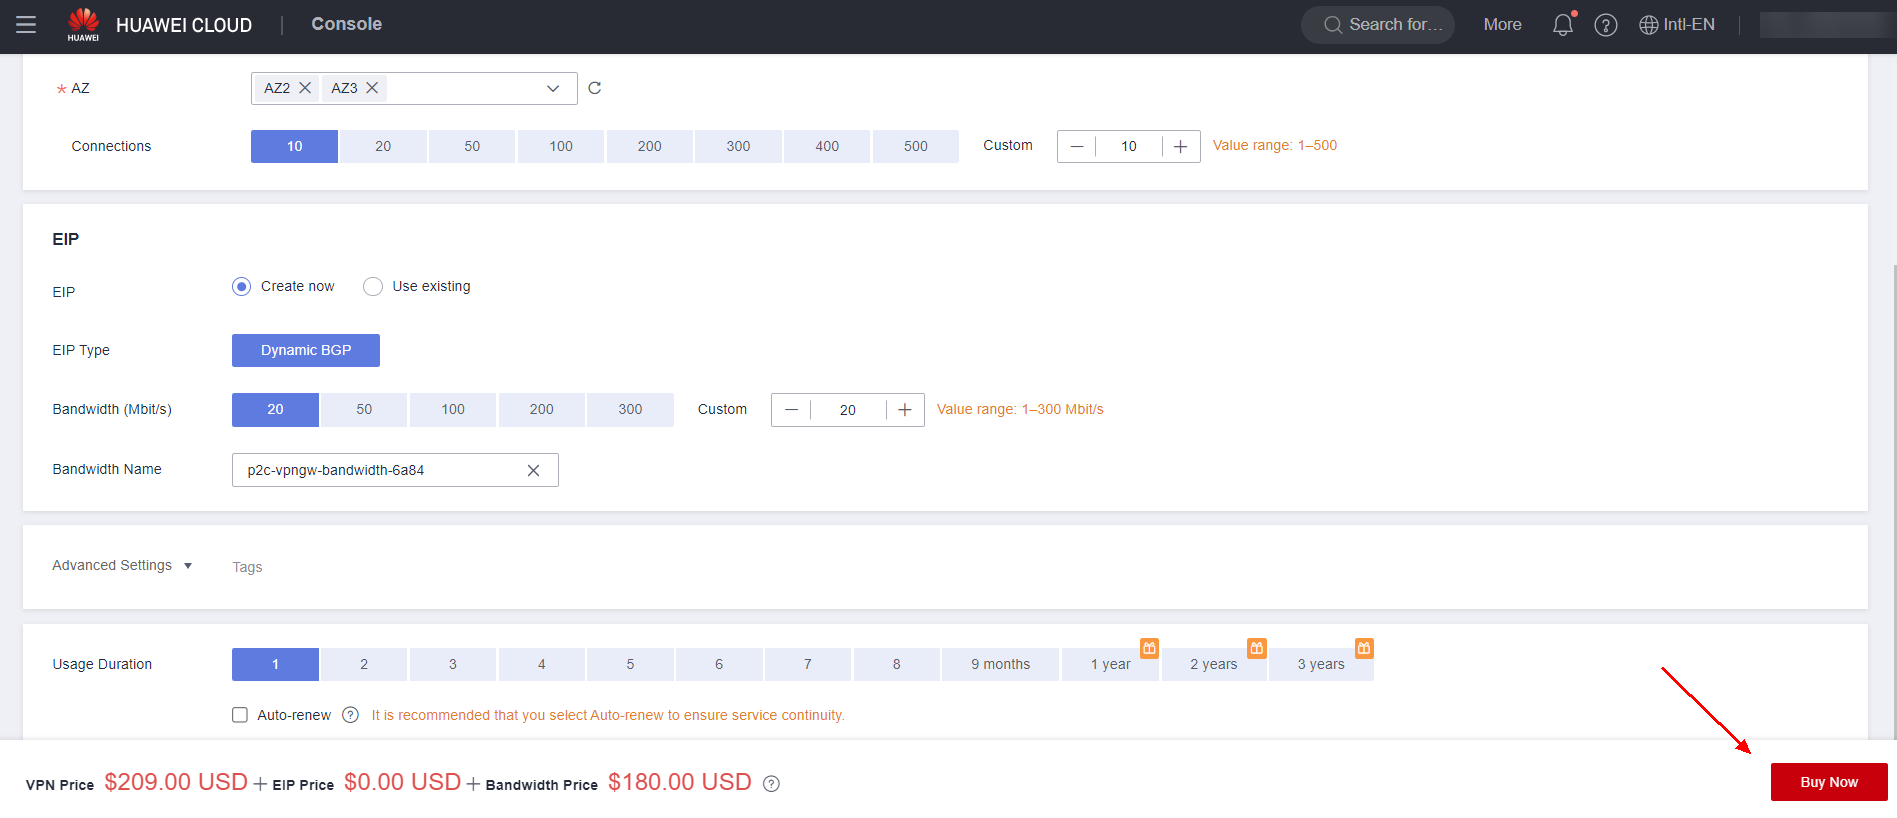
Fill in the information regarding the VPN Gateway, such as its name, VPC and Subnet where it will be located. Additionally, specify an EIP for the gateway, as well as its bandwidth. After that, simply click “Buy Now”.
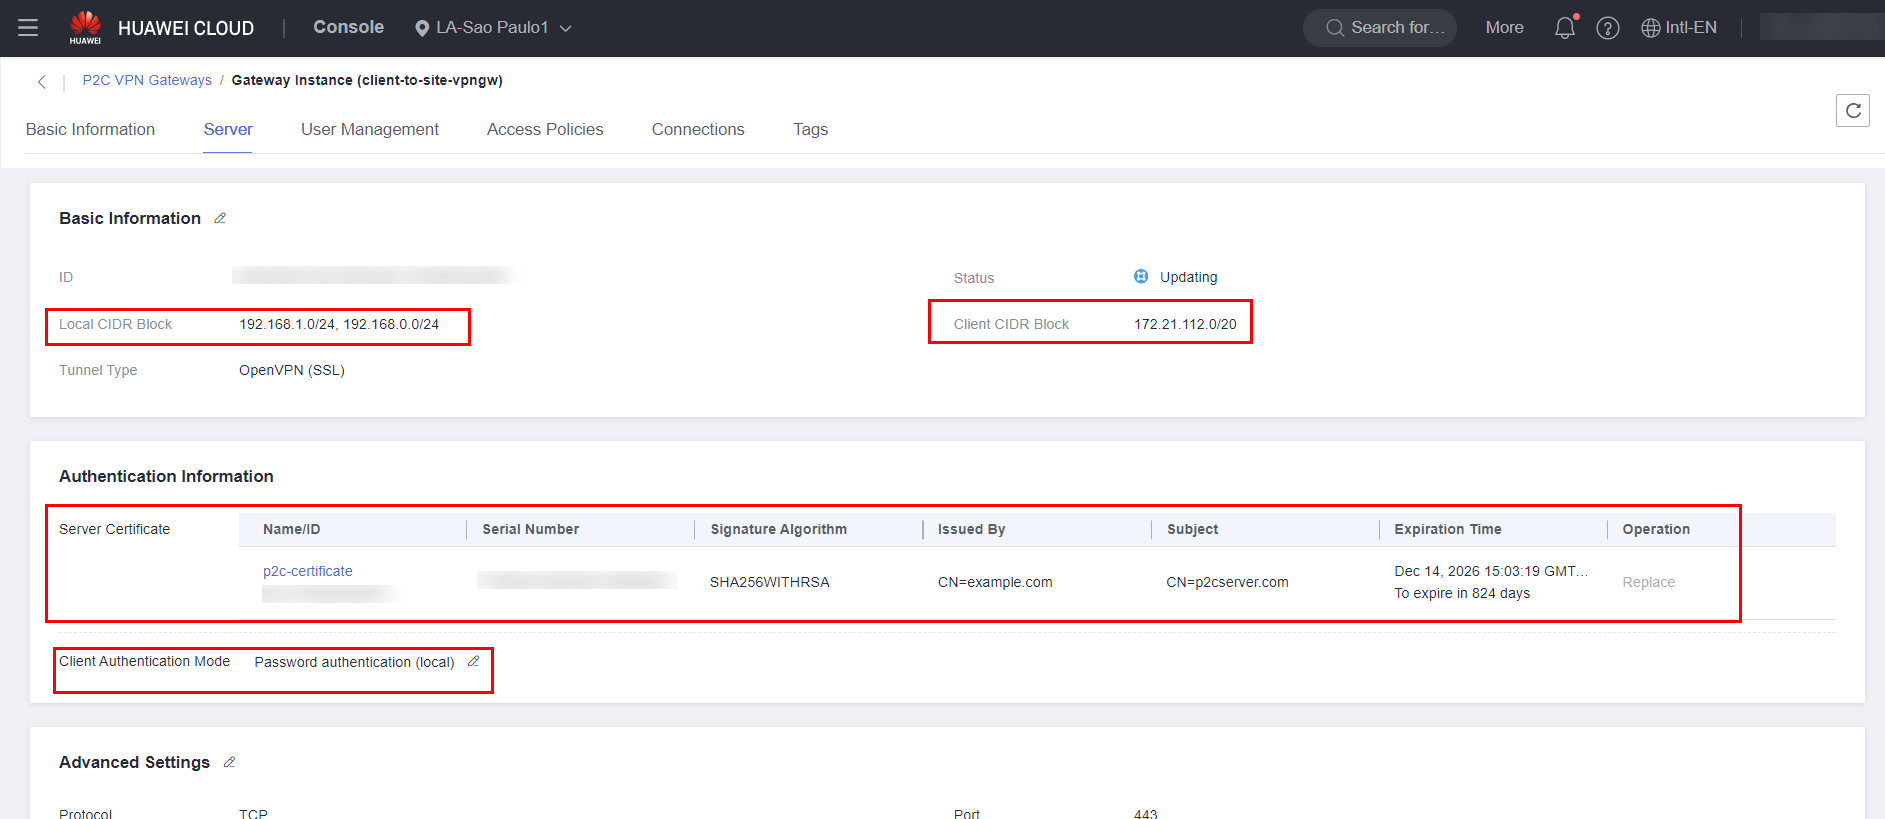
Click on the VPN Gateway you purchased and navigate to the “Server” section to configure the server certificate and client authentication method.
Fill in the information regarding the local CIDR, client CIDR, server certificate, and client authentication method.
Note: The local CIDR corresponds to the network block of the cloud where the VPN will be closed, while the client CIDR corresponds to the virtual address block used by the client. It is important that there is no overlap between the local and client network blocks.
If the client authentication method is done through username and password, it is also necessary to configure a username and password in the “User Management” section.
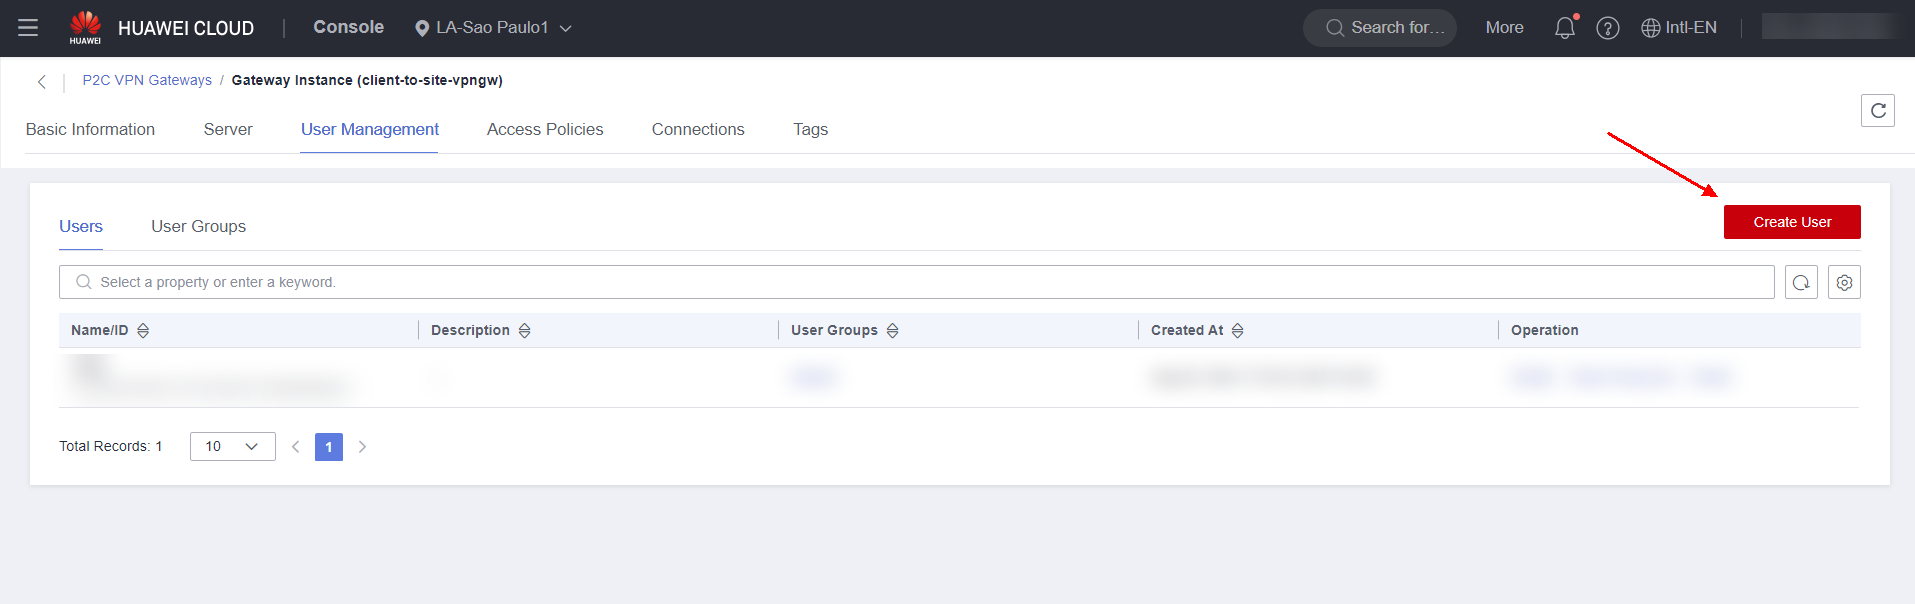
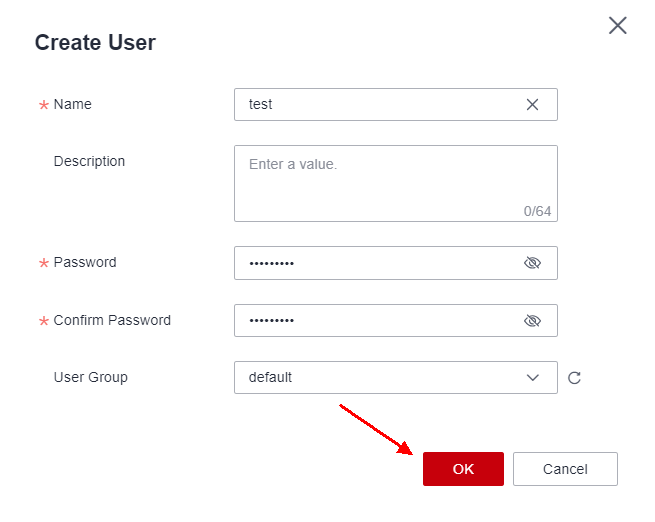
Create a username and password and define a user group for the user.
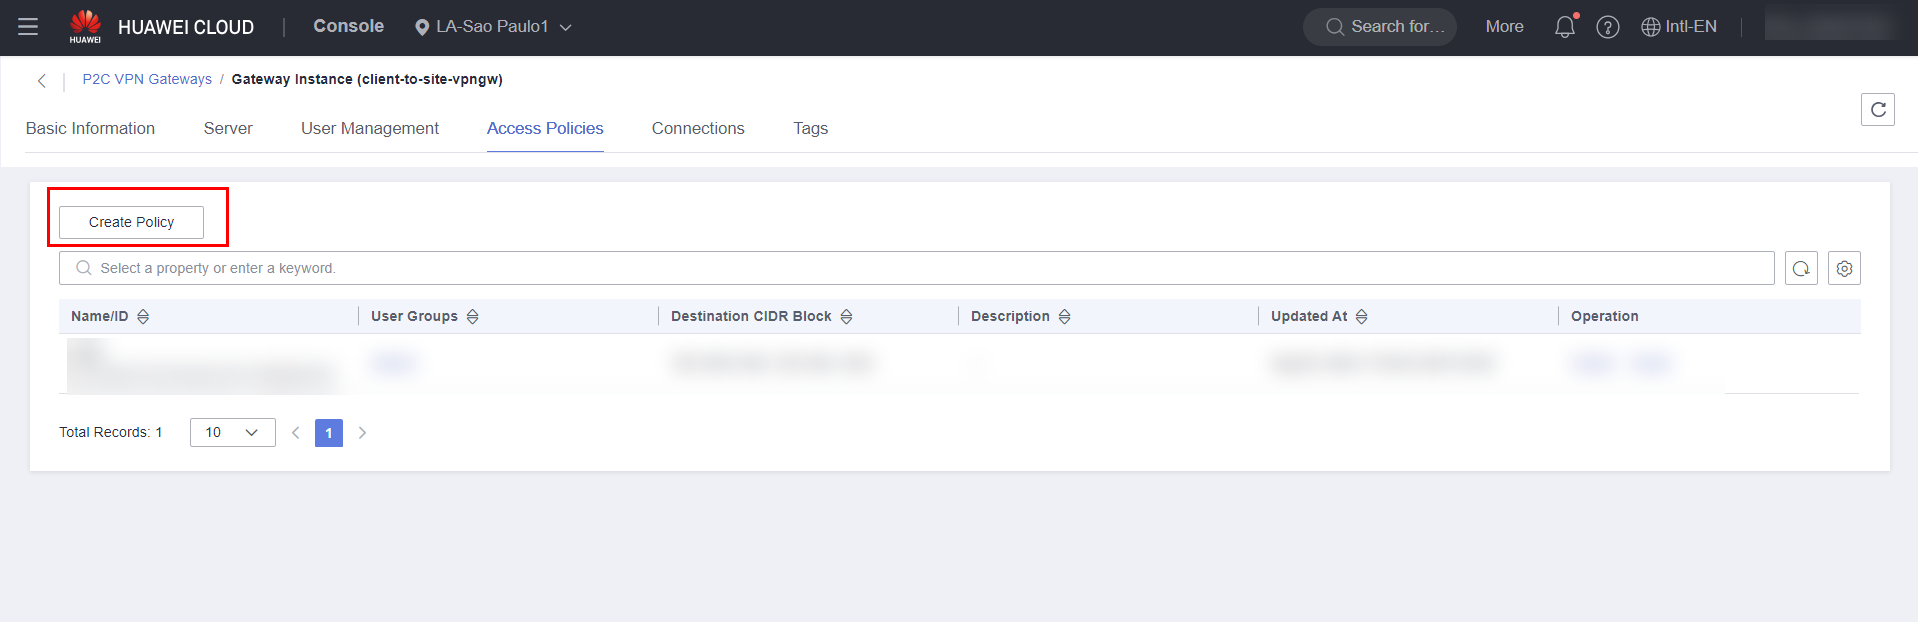
To delegate permissions to a group of users, navigate to the “Access Policies” section and click “Create Policy”.
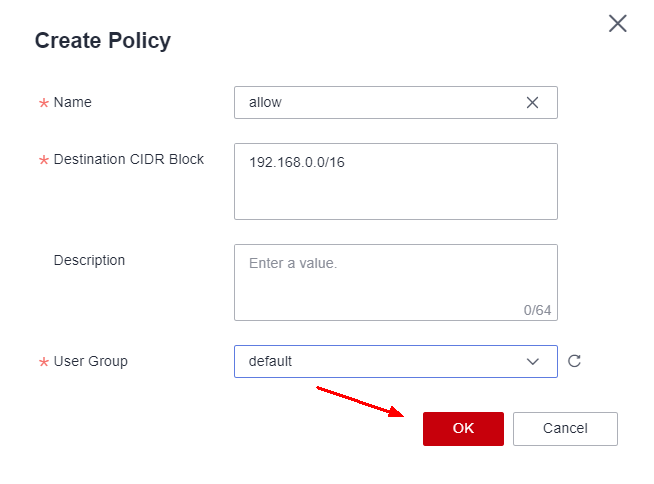
Enter the name of the policy, as well as the local CIDR filled in previously and the group of users who will be allowed to access the specified network blocks.
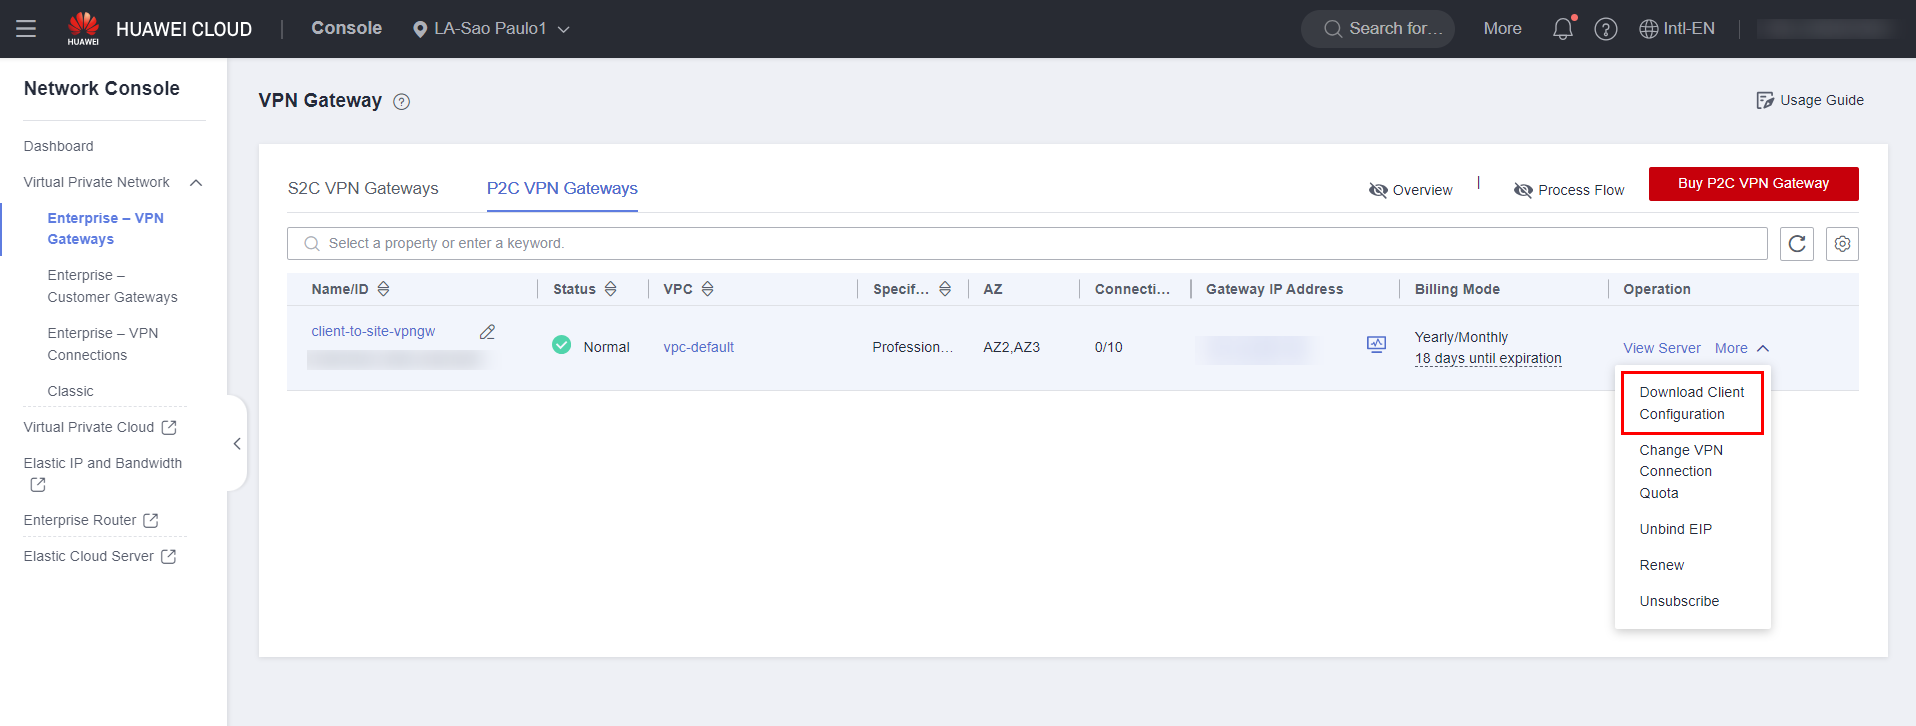
Once done, return to the P2C Gateway VPN service page and click on the “More” option followed by “Download Client Configuration”.
OpenVPN
To access the created P2C VPN, you must download the OpenVPN client through the following hyperlink: https://openvpn.net/downloads/openvpn-connect-v3-windows.msi.
After downloading OpenVPN, run its standard installation.

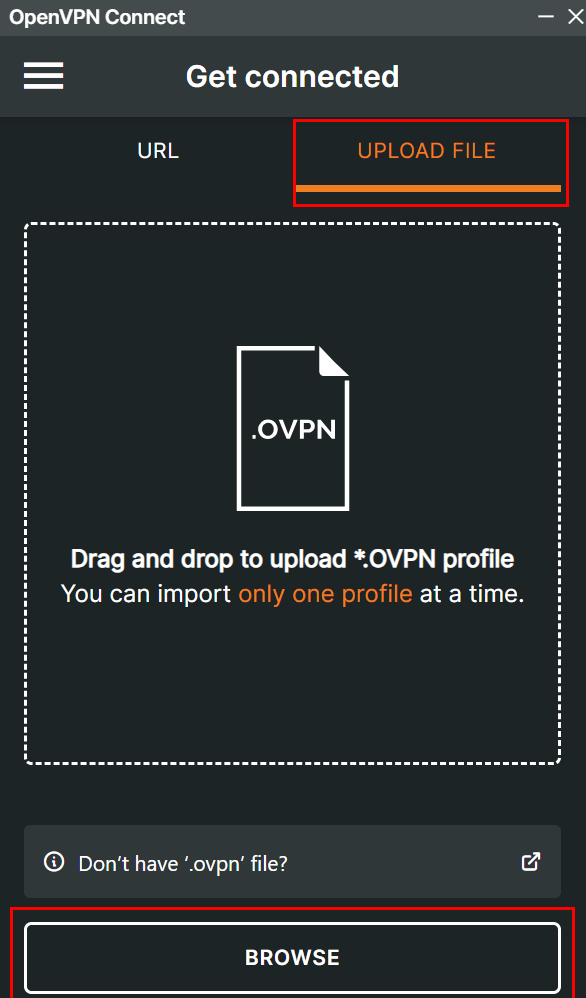
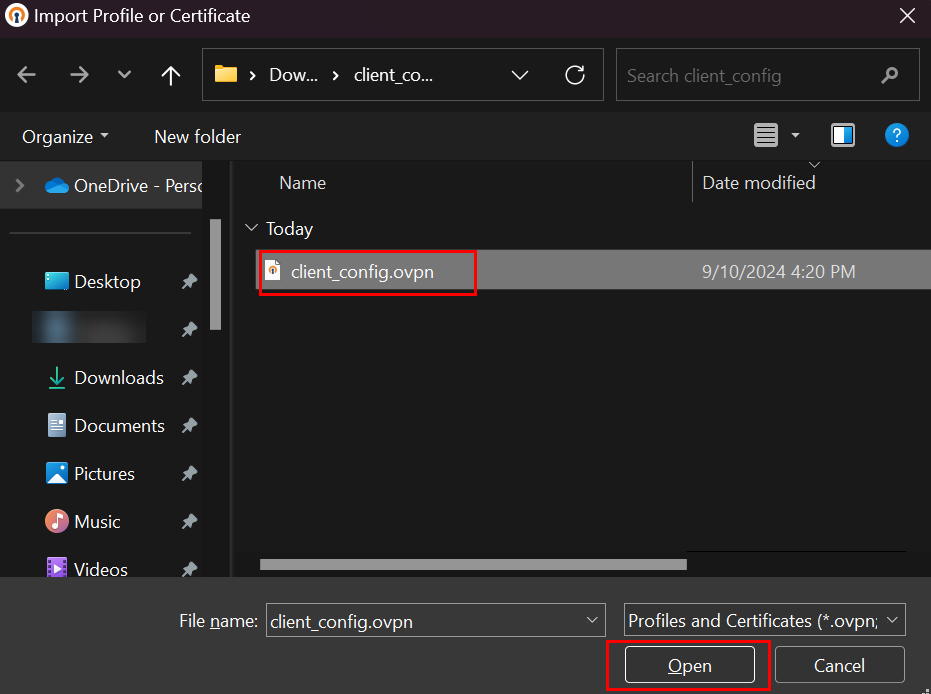
After installing the OpenVPN client, run it and click Upload File to configure the VPN. Upload the .OVPN file downloaded in item 5.0 of this document.
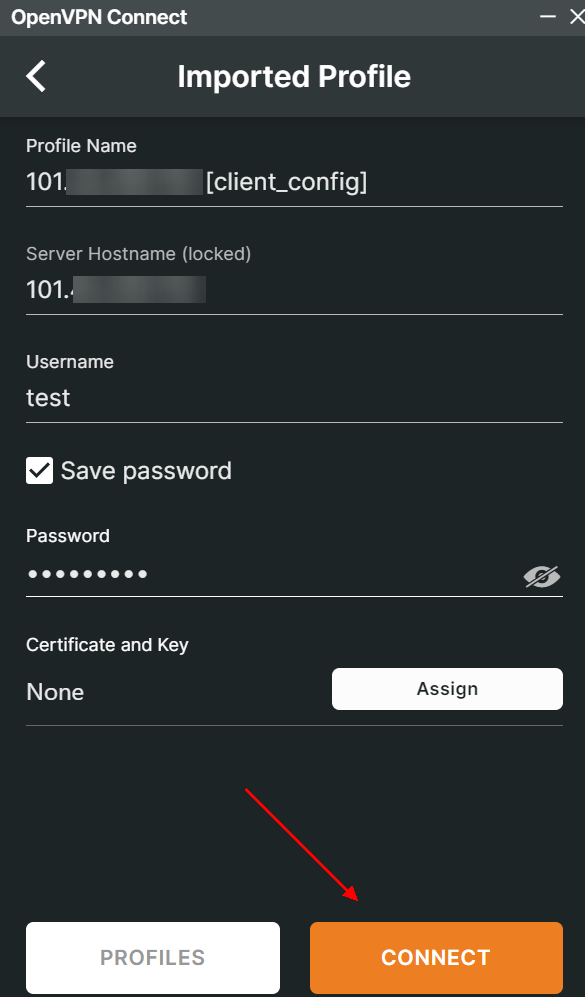
Enter the username and password configured in item 5.0 of this document and click “Connect”.
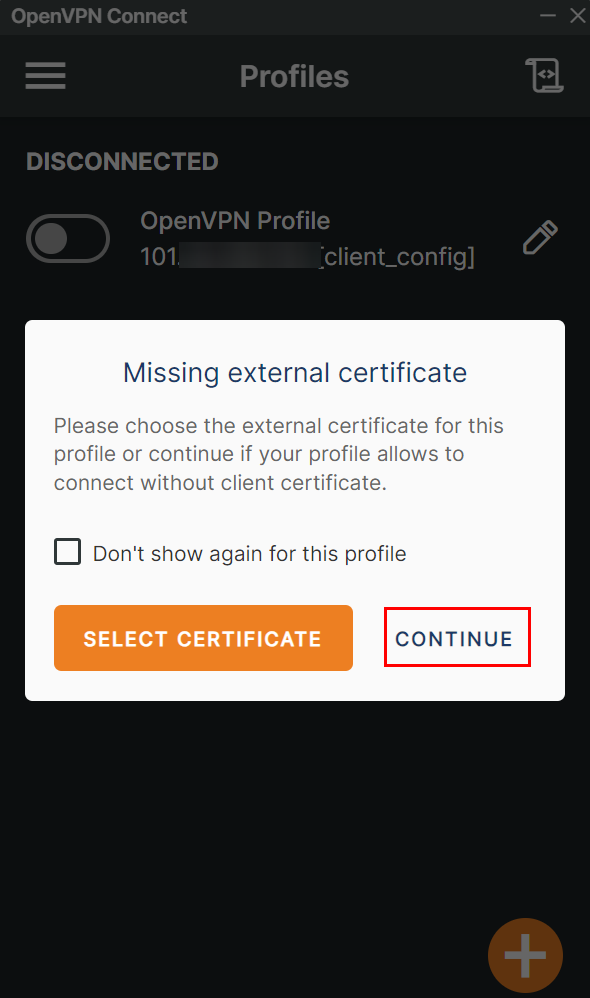
If a warning window appears requesting an external certificate, just click “Continue”.
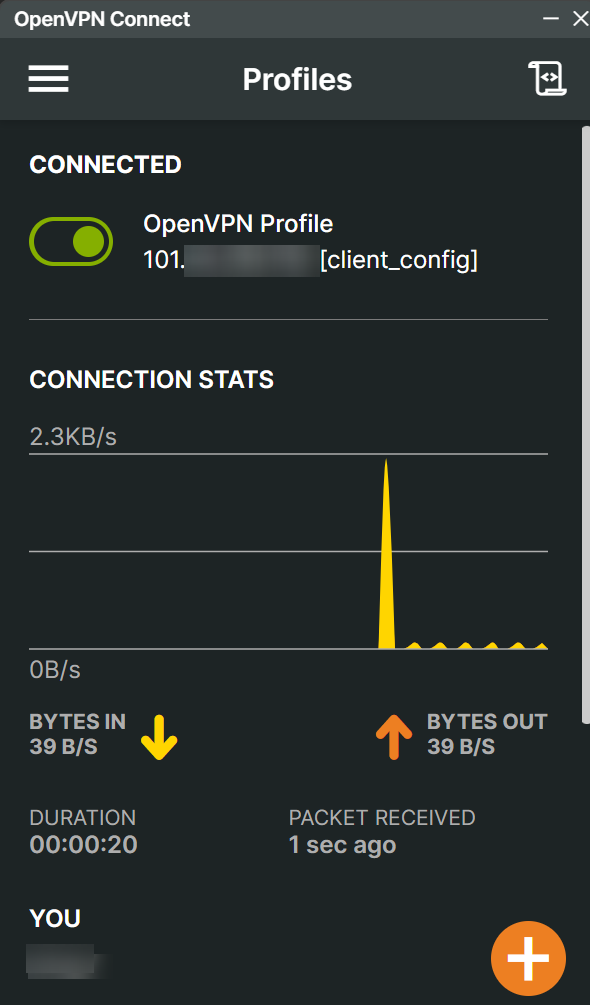
If all steps have been followed correctly, the OpenVPN client will connect to the created VPN.
References
-
P2C VPN documentation: https://support.huaweicloud.com/intl/en-us/admin-vpn/p2cvpn_admin_00001.html
-
P2C VPN documentation: https://support.huaweicloud.com/intl/en-us/usermanual-vpn/vpn_ug_p2c_00016.html.