![]()
Creating a Private OracleOS 9.4 Image
V1.0 – June 2024
| Version | Author | Description |
|---|---|---|
| V1.0 – 2024-06-06 | Diogo Hatz d50037923 | Initial Version |
| V1.0 – 2024-06-06 | Wisley da Silva Paulo 00830850 | Document Review |
Objective
This document aims to present the procedures required to create an OracleOS 9.4 image using the IMS service.
Creating an OracleOS image
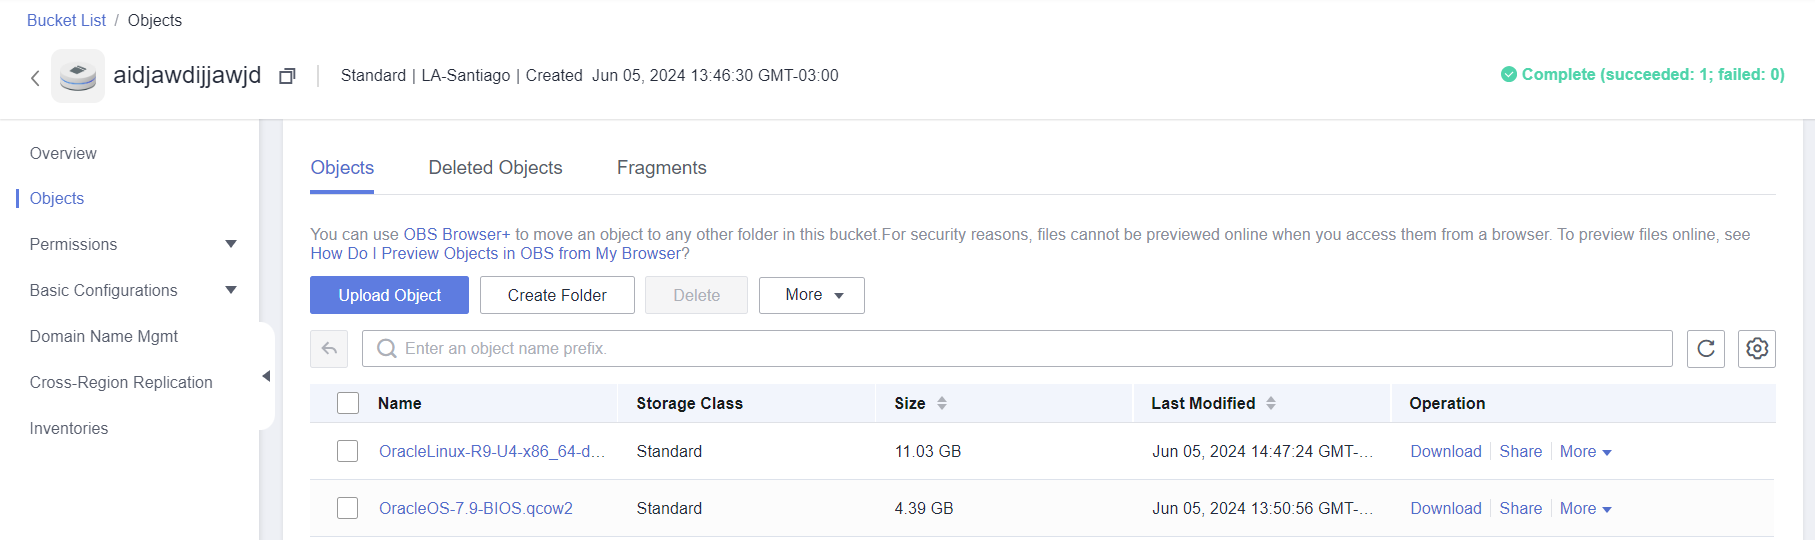
Download the Ubuntu Server ISO image (example - https://yum.oracle.com/oracle-linux-isos.html) and upload it to OBS.
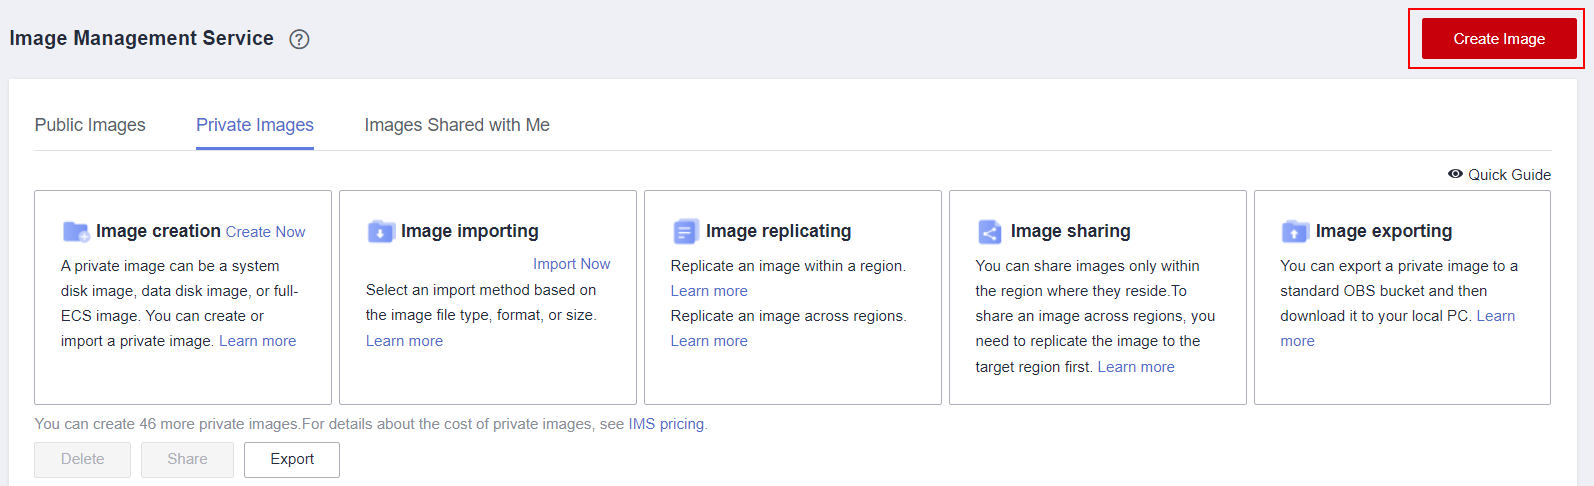
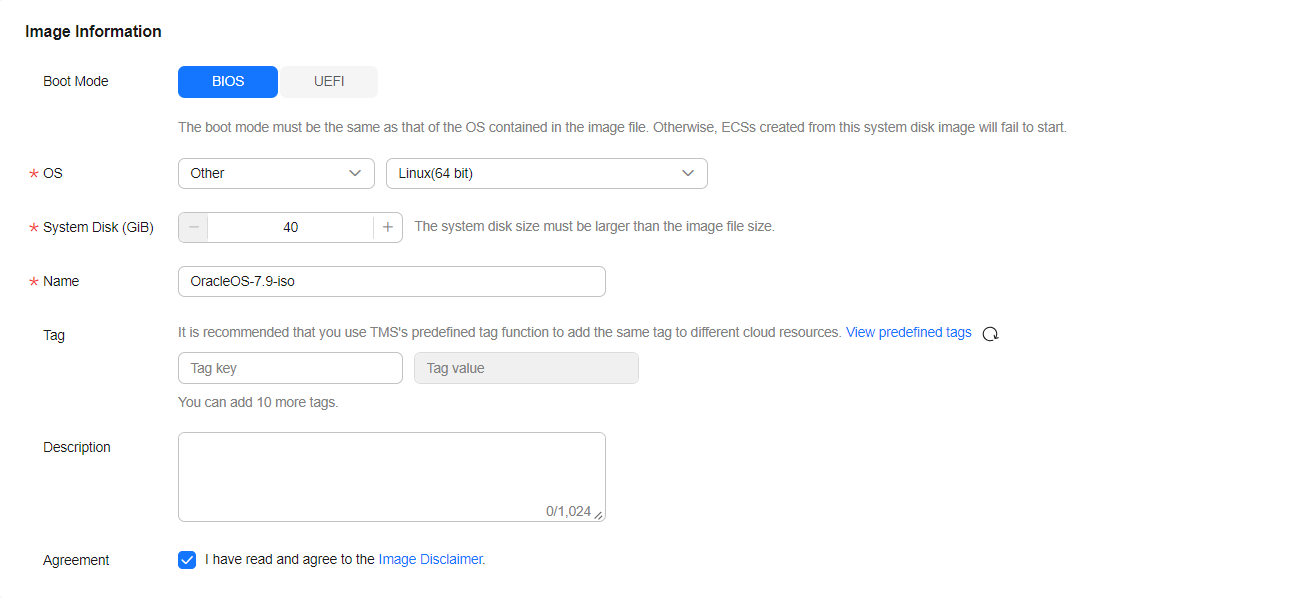
Import the OracleOS ISO image into the IMS service.

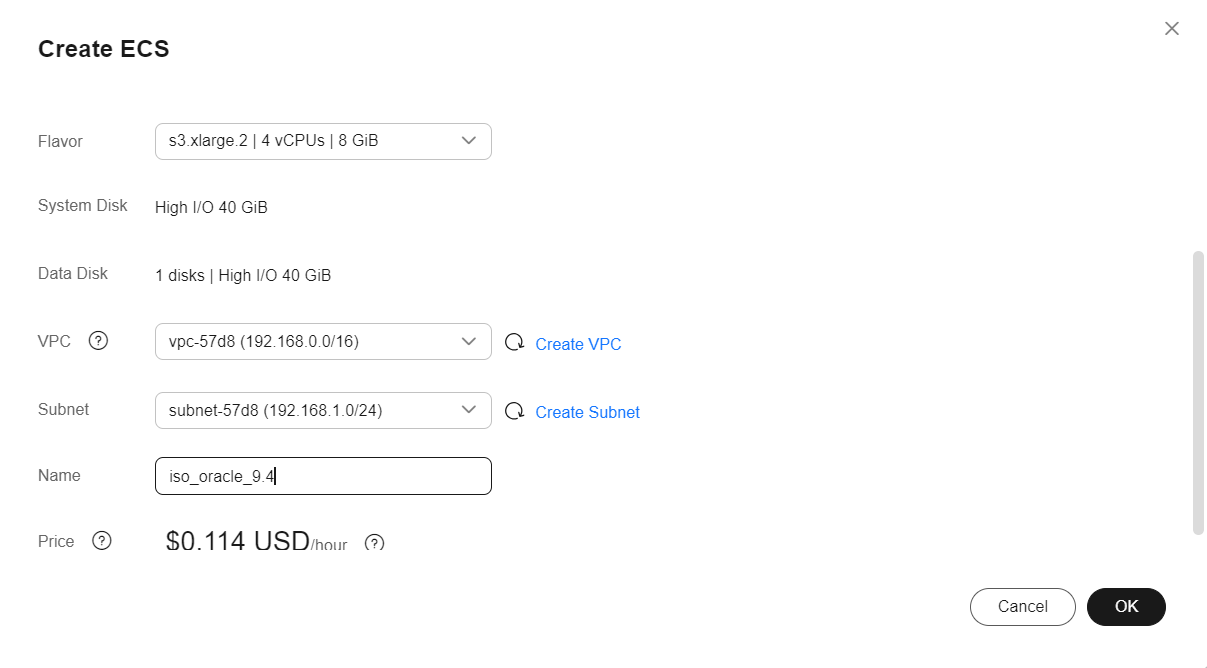
Create an ECS using the image created by importing the ISO image.

Access the instance and open the shell terminal

Bind an EIP to the machine

Install and configure cloud-init
yum update -y

yum install cloud-init -y
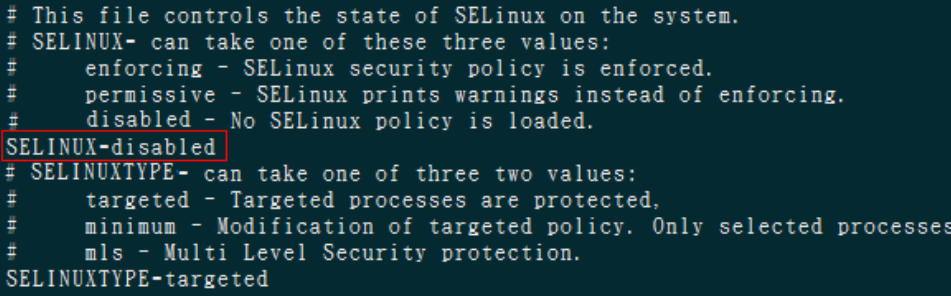
Install the HWC password change plugin
vi /etc/selinux/config
systemctl reboot

wget
<https://ap-southeast-2-cloud-reset-pwd.obs.ap-southeast-2.myhuaweicloud.com/linux/64/reset_pwd_agent/CloudResetPwdAgent.zip>

unzip CloudResetPwdAgent.zip

cd CloudResetPwdAgent/CloudResetPwdAgent.Linux

chmod +x setup.sh

sudo sh setup.sh

chmod 700 /CloudrResetPwdAgent/bin/cloudResetPwdAgent.script

chmod 700 /CloudrResetPwdAgent/bin/wrapper

chmod 600 /CloudrResetPwdAgent/lib/\*

systemctl start cloudResetPwdAgent

systemctl enable cloudResetPwdAgent
(optional) Change the default kernel of Grub to the kernel that will be used
https://docs.oracle.com/en/learn/oracle-linux-kernels/#change-the-default-kernel
(optional) If any of the kernels show errors during boot, type the following command
dracut --regenerate-all –force
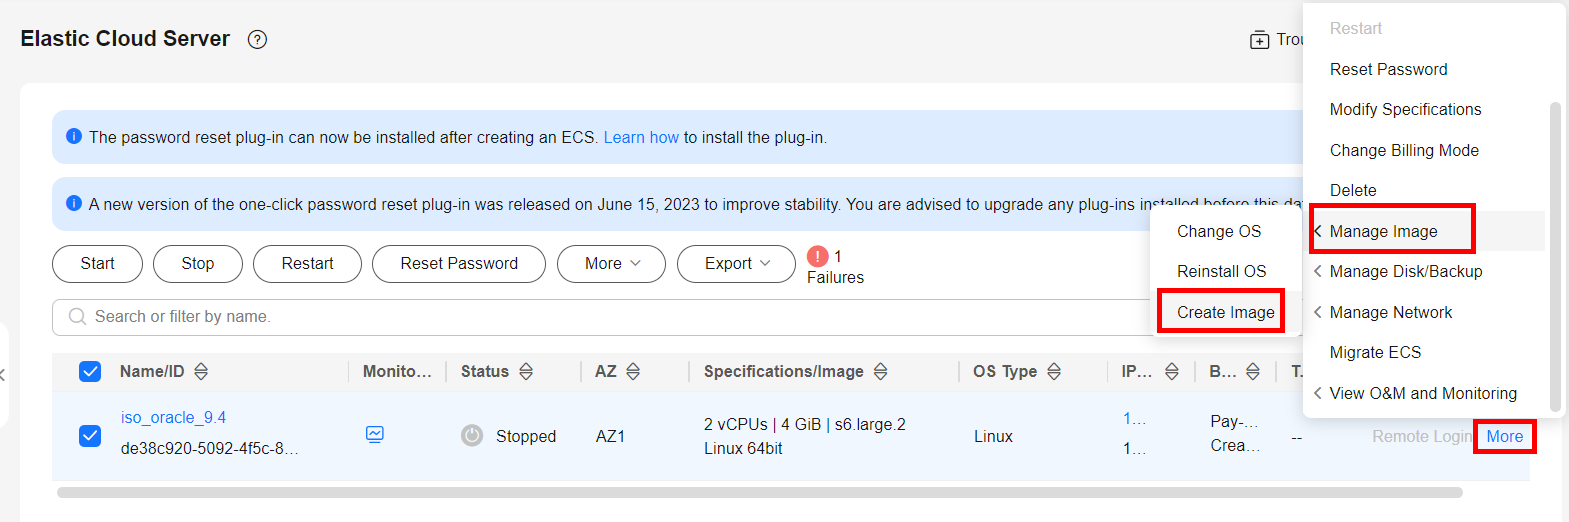
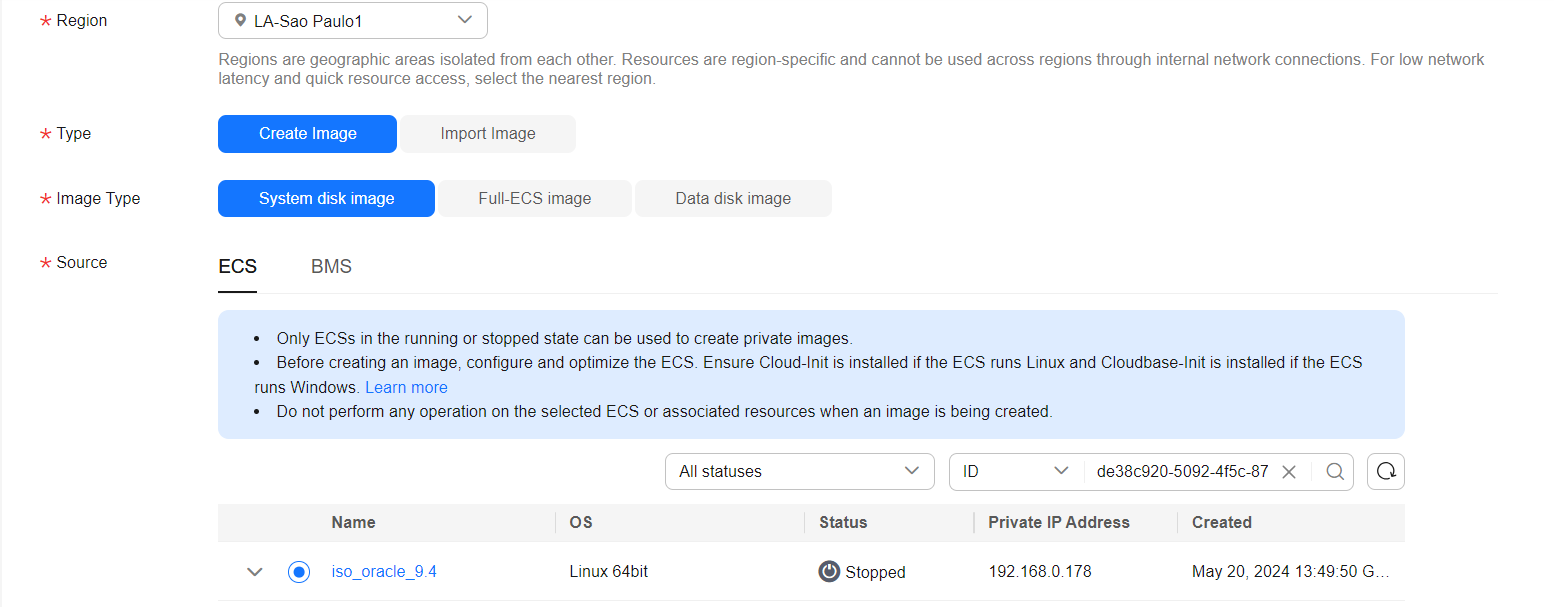
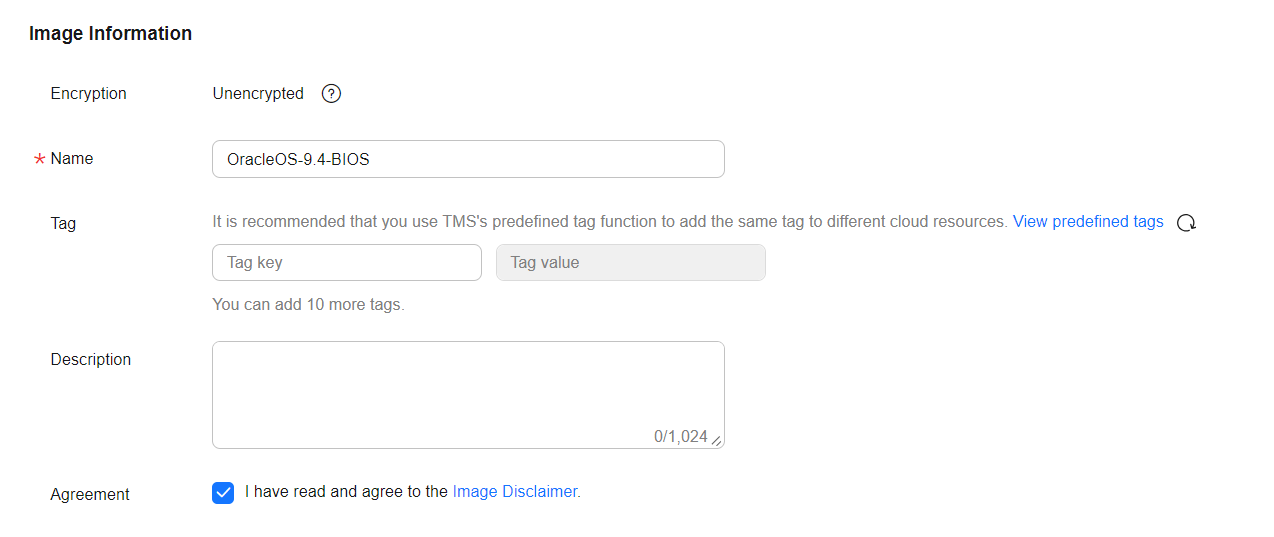
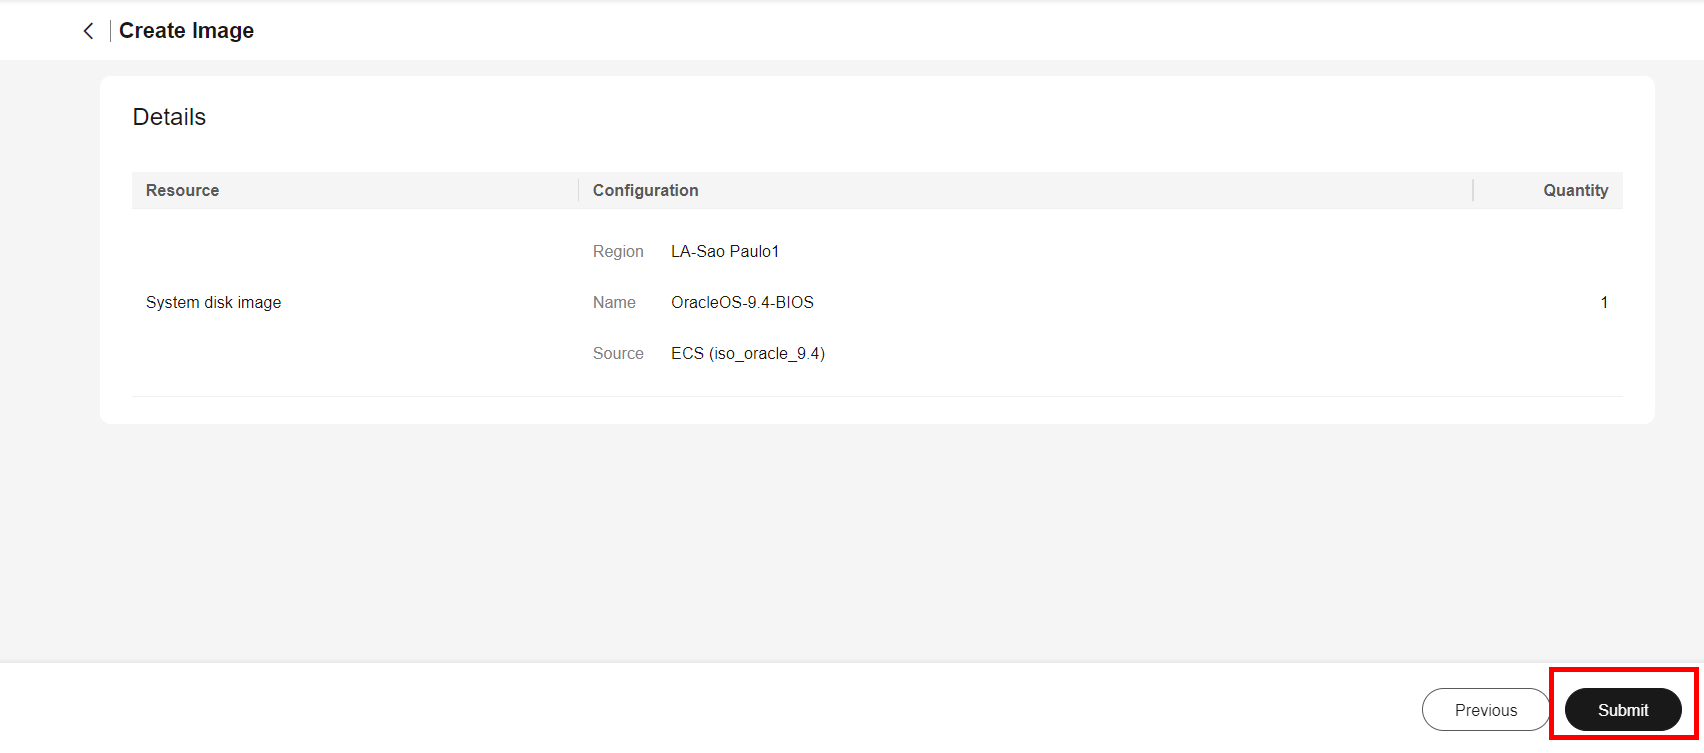
Stop the instance and create the image: